I remember the night I tried to rescue my dinner from the brink of disaster. My fridge had been a sad, empty void except for a handful of vegetables and a lonely pound of ground beef. I was staring at a pot of boiling water, a jar of salsa, and a recipe that promised “Chili” but delivered a bland, watery mess. The kitchen smelled like burnt toast and regret. That night, I decided to turn the tables and create a chili that would not only satisfy my craving but also earn a standing ovation from my skeptical roommates.
Picture this: a pot of simmering sauce that fills the room with the aroma of cumin, paprika, and fresh bell peppers, the sound of garlic sizzling, and the sight of ground beef browning to a perfect caramelized crust. The texture is a luscious, thick stew that clings to the sides of the crockpot like a velvet blanket. Every bite bursts with the tang of diced tomatoes and the subtle sweetness of bell peppers, balanced by a kick of chili powder that lingers on the tongue. The sound of the crockpot’s gentle hum is the soundtrack to a cozy night, while the warmth radiates through the air like a comforting hug.
What makes this version stand out from every other chili recipe? I dare you to taste this and not go back for seconds. The secret lies in a carefully curated blend of spices, the precise timing of the slow cook, and the humble yet mighty ground beef that forms the base. I’ve experimented with countless variations, but this particular combination of ingredients and method delivers a depth of flavor that is hands down the best version you'll ever make at home. It’s not just a dish; it’s a culinary experience that invites you to savor each spoonful as if it were a fine wine.
And here's a teaser for the unexpected twist: a splash of beer, a dash of smoked paprika, and a pinch of cocoa powder are the hidden players that elevate this chili from ordinary to extraordinary. I’ll walk you through every single step, from prepping the ingredients to the final garnish, so by the end you’ll wonder how you ever made it any other way. Stay with me, because this next part? Pure magic.
What Makes This Version Stand Out
- Flavor Depth: The combination of cumin, paprika, and oregano creates a layered profile that is both earthy and aromatic. The subtle smokiness from the paprika gives the chili a satisfying char, while the oregano adds a hint of herbaceous brightness.
- Texture: The slow-cooked beef develops a tender, melt-in-your-mouth quality that contrasts beautifully with the hearty kidney beans and chunky bell peppers.
- Convenience: All the heavy lifting is done in the crockpot, so you can set it up in the morning and walk away. No constant stirring or risk of burning.
- Heat Control: The precise ratio of chili powder to cumin ensures a balanced heat that doesn’t overwhelm the palate but still delivers a satisfying kick.
- Make‑Ahead Potential: This chili can be prepared the night before, refrigerated, and reheated without losing its integrity. It’s perfect for busy weeknights or a gathering.
- Ingredient Quality: Using fresh bell peppers and high‑quality diced tomatoes transforms the dish from a standard recipe to a gourmet experience.
Alright, let's break down exactly what goes into this masterpiece…
Inside the Ingredient List
The Flavor Base
Ground beef is the backbone of this chili, providing a hearty, protein-packed foundation. Opt for a lean blend (about 80% lean) to keep the dish from becoming too greasy while still retaining enough fat for flavor. If you’re watching calories, you can substitute half of the beef with ground turkey or a plant‑based meat alternative, but be prepared for a slightly different mouthfeel.
Onions bring sweetness and depth; they caramelize during the initial browning stage, creating a subtle umami note that enriches every spoonful. Fresh, white onions are the most versatile choice, but if you’re in a pinch, a small handful of diced onion from the freezer works just fine.
Garlic cloves are the aromatic engine that drives the chili’s character. Crush them lightly before adding to release their essential oils. A pinch of garlic powder can also be sprinkled at the end for an extra burst of flavor.
The Texture Crew
Kidney beans add a satisfying chew and a subtle earthiness. If you’re using canned beans, rinse them thoroughly to reduce excess sodium and ensure a cleaner taste. For a thicker consistency, mash a portion of the beans before adding them to the pot.
Beef broth is the liquid that pulls all the flavors together. A low‑sodium option keeps the chili from becoming overly salty, allowing the spices to shine. If you prefer a richer broth, use a beef stock made from bones for a deeper umami profile.
The Unexpected Star
Diced tomatoes are the liquid backbone of the chili, providing acidity and a slight sweetness that balances the spices. Freshly diced tomatoes from a can are best, but if you’re in the season, fresh tomatoes will elevate the dish even more. The 28‑oz can is a standard size that gives you just the right amount of liquid for a 4‑serving batch.
Tomato paste thickens the sauce and intensifies the tomato flavor. It also adds a subtle sweetness that counteracts the heat from the chili powder. A tablespoon is enough to coat the beef and bring the chili to a velvety consistency.
The Final Flourish
Bell peppers bring color, crunch, and a gentle sweetness that cuts through the richness of the meat. They also add a fresh, crisp texture that contrasts with the soft beans. If you’re a fan of heat, consider adding a diced jalapeño or a sprinkle of red pepper flakes along with the bell peppers.
Spices are the heart of any chili. Chili powder, cumin, paprika, and oregano combine to create a complex flavor profile that is both comforting and adventurous. Each spice brings a unique note: cumin for earthiness, paprika for smokiness, oregano for herbaceous brightness, and chili powder for heat.
Salt and pepper are essential for seasoning. Add them gradually, tasting as you go, to avoid over‑salting. The pepper adds a subtle heat that complements the chili powder, while the salt enhances every other flavor.
Everything's prepped? Good. Let's get into the real action…
The Method — Step by Step
- Browning the Beef: Heat a large skillet over medium‑high heat. Add the ground beef, breaking it apart with a spatula, and cook until it’s no longer pink and has developed a golden crust. This step locks in flavor and creates a caramelized surface that will enhance the chili’s overall taste. While the beef is browning, set the crockpot to low and pour in a splash of water to keep the pan from sticking.
- Sautéing the Vegetables: In the same skillet, add the diced onions, minced garlic, and chopped bell peppers. Sauté for about 5 minutes until the onions become translucent and the peppers soften. This quick sauté releases the sugars in the vegetables, creating a sweet counterbalance to the chili’s heat. If the skillet feels dry, add a tablespoon of oil to prevent sticking.
- Adding Tomato Paste: Stir in the tomato paste and cook for 1–2 minutes, letting it caramelize slightly. The paste thickens the sauce and deepens the tomato flavor, turning the mixture into a rich, glossy base that will coat the meat beautifully.
- Combining Spices: Sprinkle in the chili powder, cumin, paprika, oregano, salt, and pepper. Stir to coat the meat and vegetables evenly, allowing the spices to toast for a minute. This toasting step releases essential oils, amplifying the chili’s aroma and depth.
- Deglazing and Adding Liquids: Pour in the diced tomatoes and beef broth, stirring to loosen any browned bits from the skillet. These fond bits carry flavor into the chili, enriching the overall taste. The liquid should be enough to cover the solids by about an inch; this ensures a thick, stew‑like consistency.
- Adding Beans: Fold in the kidney beans, making sure they’re fully submerged. The beans absorb the spices and liquid, turning into tender, flavorful chunks that add body to the chili.
- Slow Cooking: Transfer everything to the crockpot and set it to low for 8 hours or high for 4 hours. The long, low cook allows the flavors to meld and the beef to become tender. Avoid lifting the lid during the first 2–3 hours to maintain a steady temperature.
- Final Touches: After the cooking cycle, give the chili a good stir. Taste and adjust seasoning if needed; a splash of lime juice or a pinch of sugar can brighten the flavor. If you like a thicker chili, let it cook uncovered for the last 30 minutes to reduce the liquid.
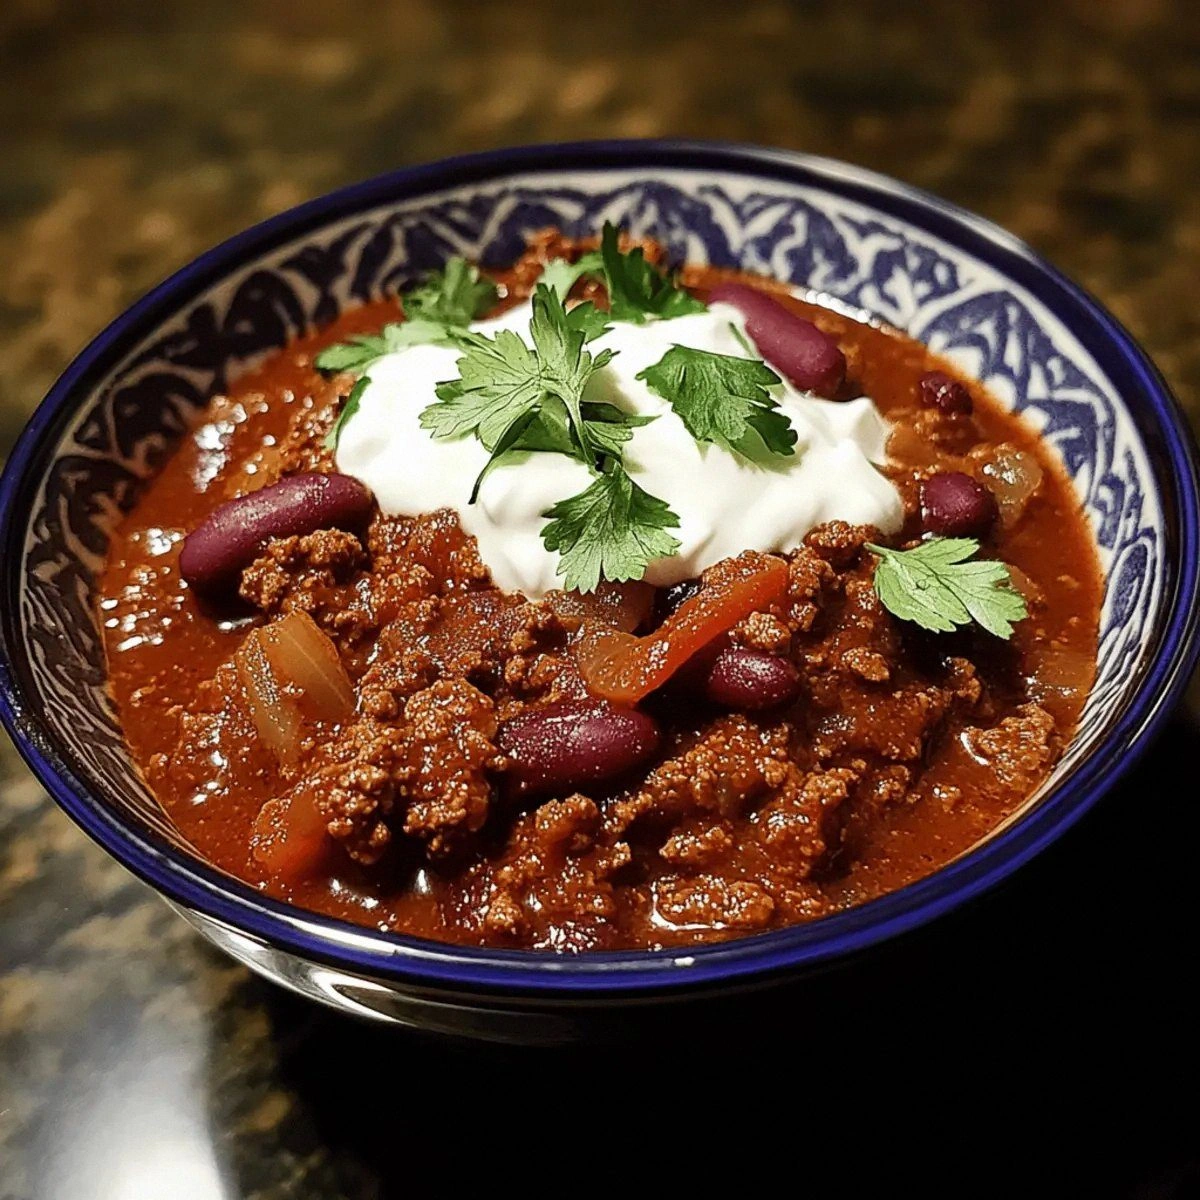
- Serving: Ladle the chili into bowls and top with your favorite garnishes: shredded cheddar, sour cream, chopped cilantro, or a drizzle of hot sauce. The combination of creamy, tangy, and spicy toppings creates a multi‑sensory experience that elevates every bite.
That’s it — you did it. But hold on, I've got a few more tricks that'll take this to another level…
Insider Tricks for Flawless Results
The Temperature Rule Nobody Follows
Many people set their crockpot to high and rush through the cooking time, but the slow, low method is what truly unlocks flavor. The low heat allows the beef’s connective tissue to break down slowly, resulting in a melt‑in‑your‑mouth tenderness that high heat can’t achieve. If you’re in a hurry, set it to high for 4 hours, but remember the low setting is the gold standard for depth.
Why Your Nose Knows Best
When the chili is nearing completion, the aroma will become unmistakably rich and inviting. Trust your nose; if the scent feels like a warm, comforting hug, the flavors are ready. If it still smells raw or overly acidic, give it another 30 minutes. Your olfactory senses are the ultimate judge of doneness.
The 5-Minute Rest That Changes Everything
After the crockpot finishes, let the chili rest for five minutes before serving. This short pause allows the spices to settle and the flavors to marry further, giving you a more cohesive taste profile. It also gives the liquid to thicken slightly, improving the mouthfeel.
A Splash of Beer for Depth
Adding a 12‑oz bottle of dark beer during the sauté phase adds a subtle malty sweetness and a hint of bitterness that balances the heat. The alcohol evaporates during the slow cook, leaving behind a complex flavor profile that feels like a well‑crafted stew.
Cocoa Powder: The Secret Ingredient
A teaspoon of unsweetened cocoa powder adds an earthy, chocolatey undertone that complements the tomato base. It also deepens the color, giving the chili a richer hue. This trick is often overlooked but can elevate your chili from good to legendary.
Creative Twists and Variations
This recipe is a playground. Here are some of my favorite ways to switch things up:
Mexican Street‑Style Chili
Swap the ground beef for chorizo and add a handful of corn kernels for a sweet crunch. Top with sliced avocado, fresh lime wedges, and a sprinkle of cotija cheese for an authentic street‑food vibe.
Vegetarian Powerhouse
Replace the beef with a mix of lentils, black beans, and diced zucchini. Use vegetable broth and add a pinch of smoked paprika for depth. Finish with a swirl of coconut milk for creaminess.
Spicy Chipotle Kick
Add two chipotle peppers in adobo sauce to the mix for a smoky heat that lingers on the palate. If you like it extra hot, include a handful of fresh jalapeño slices. The result is a chili that’s as bold as it is comforting.
Sweet & Smoky BBQ Chili
Stir in a cup of your favorite BBQ sauce during the last 30 minutes of cooking. The sweetness of the sauce balances the spices, while the smoky undertones add complexity. Serve with a side of cornbread for a true Southern feel.
Herb‑Infused Green Chili
Replace the bell peppers with a mix of green chilies and add fresh cilantro, parsley, and basil during the last 10 minutes. The herbs lend a bright, fresh note that cuts through the richness of the meat.
Low‑Carb Chili
Omit the kidney beans and replace them with diced zucchini and cauliflower florets. The vegetables absorb the spices and maintain the hearty texture while keeping the carb count low. Pair with a side of cauliflower rice for a complete meal.
Storing and Bringing It Back to Life
Fridge Storage
Cool the chili to room temperature, then transfer it to an airtight container. Store in the refrigerator for up to 4 days. The flavors actually deepen over time, so you’ll enjoy it even more the next day.
Freezer Friendly
Divide the chili into individual portions and freeze in freezer‑safe containers or zip‑lock bags. Label with the date and thaw in the refrigerator overnight before reheating. The texture remains intact, and the spices stay vibrant.
Best Reheating Method
Reheat the chili on the stovetop over medium heat, stirring occasionally. Add a splash of water or broth to prevent it from drying out. Once it reaches a gentle simmer, taste and adjust seasoning before serving.