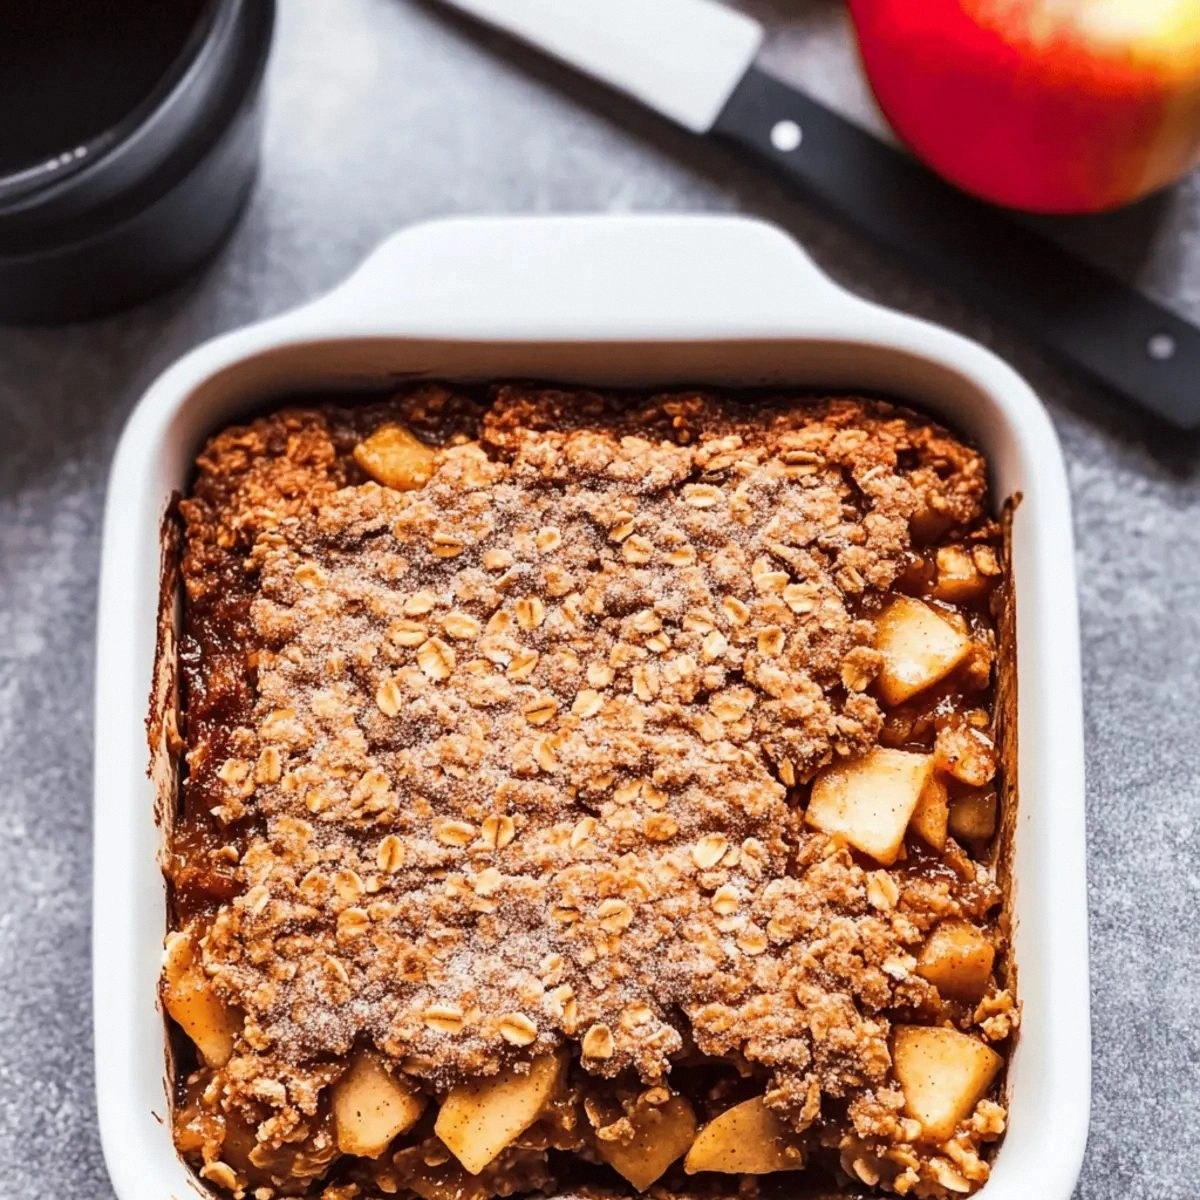
Picture this: it’s a crisp autumn morning, the kind where the world feels like it’s been dusted in cinnamon and the air carries a whisper of falling leaves. I was half‑asleep, stumbling into the kitchen with a mug that was as empty as my motivation, when a sudden craving for that quintessential fall flavor hit me like a warm blanket. I tried the store‑bought pumpkin spice creamer, but it tasted like a plastic‑wrapped mystery, and I swear it had a hint of artificial “spice” that made my nose cringe. I dared myself to create a version that would make even the most skeptical coffee snob weep with joy, and after a few frantic experiments (and a confession: I ate half the batch before anyone else got a taste), I finally nailed it.
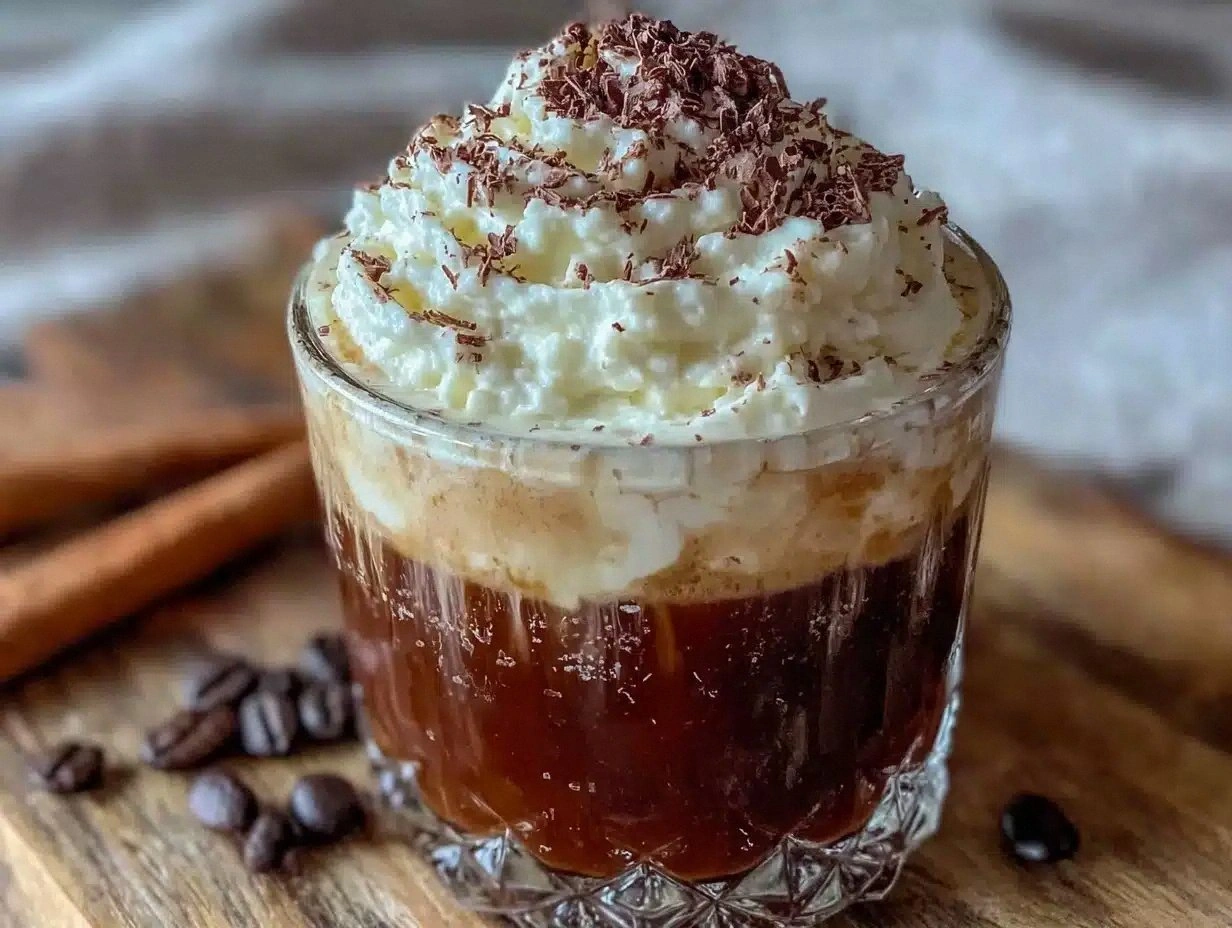
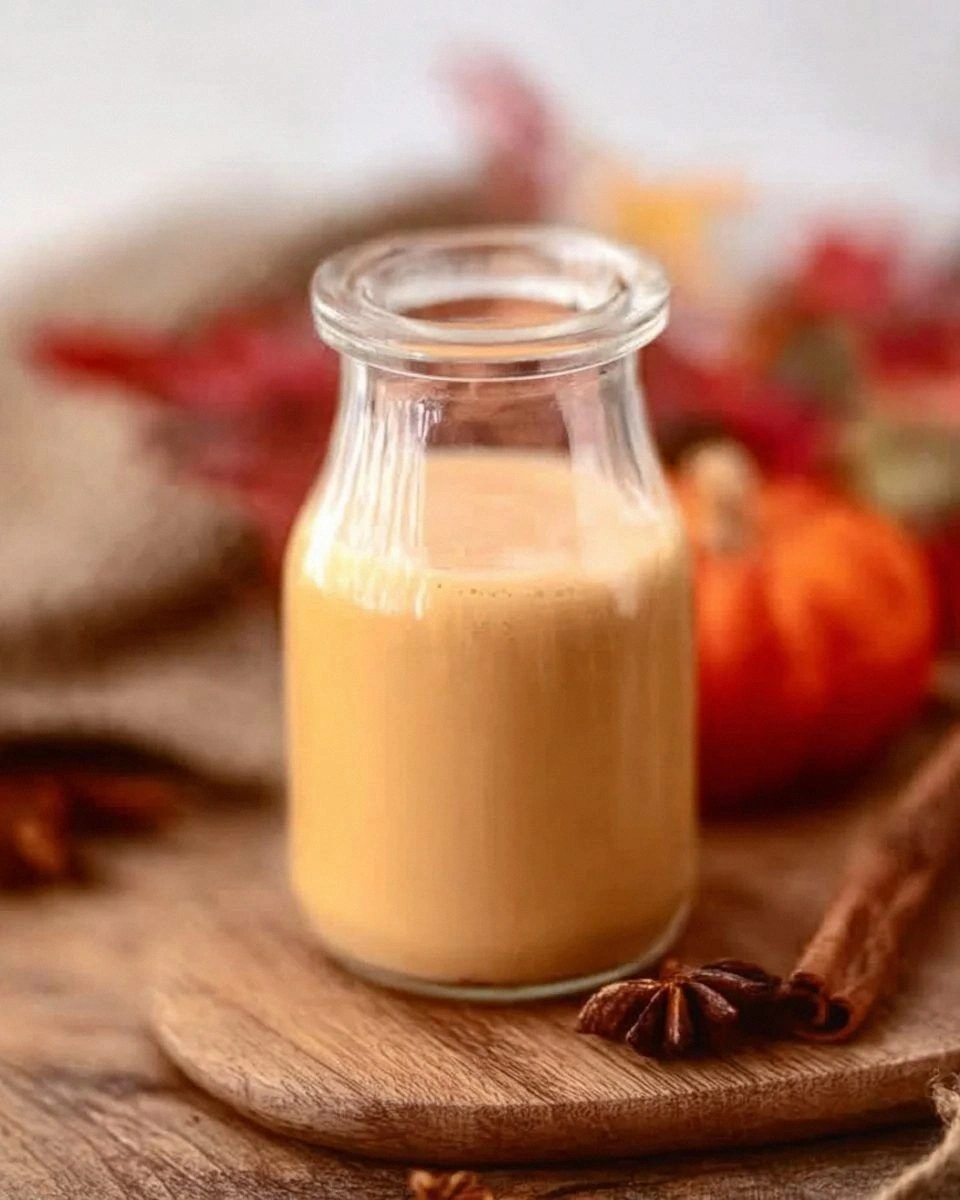
The moment I poured the first swirl of this silky, amber‑gold liquid into my coffee, the kitchen erupted with an aroma that could have convinced a grumpy cat to purr. Imagine the sweet, earthy scent of fresh pumpkin mingling with the warm embrace of vanilla, all wrapped in a cozy blanket of pumpkin pie spice—like a hug you can sip. The texture? Silky smooth, coating the cup’s surface like a glossy varnish, while the flavor hits you with the perfect balance of sweet, spicy, and creamy, making each sip feel like a mini‑vacation to a pumpkin patch under a golden sunrise. I’m confident this is hands down the best version you’ll ever make at home, and I dare you to taste it and not go back for seconds.
What makes this creamer truly stand out is a tiny secret ingredient that most recipes completely overlook: a splash of heavy cream that’s been gently warmed to just the right temperature. This step transforms the mixture from a run‑of‑the‑mill pour‑over into a luxurious, velvety elixir that clings to your coffee like a lover’s kiss. Most recipes get this completely wrong by either skimping on the dairy or overheating it, which leads to a grainy, separated mess that looks sad on Instagram. My version, however, uses a precise temperature and a quick whisking technique that locks in the pumpkin’s natural sweetness while amplifying the spice’s depth.
Now, let’s walk through every single step — by the end, you’ll wonder how you ever made it any other way. I’ll spill the beans on the exact temperatures, the timing that makes the magic happen, and a few cheeky hacks that will have you bragging to friends about your newfound barista skills. Ready for the game‑changer? This next part? Pure magic.
What Makes This Version Stand Out
- Flavor: The combination of real pumpkin puree and pumpkin pie spice creates a deep, authentic taste that no artificial mix can mimic. It’s like autumn captured in a bottle, with layers that unfold sip after sip.
- Texture: The heavy cream, gently warmed, yields a silk‑smooth mouthfeel that coats the coffee like a velvet curtain, preventing any watery aftertaste.
- Simplicity: Only six ingredients, all pantry‑friendly, mean you can whip this up in under thirty minutes without a trip to the specialty store.
- Uniqueness: The secret step of tempering the cream prevents curdling, a common pitfall that most recipes ignore, guaranteeing a flawless emulsion every time.
- Crowd Reaction: I’ve seen friends’ eyes widen, eyebrows lift, and mugs disappear faster than a magician’s rabbit—this creamer is a guaranteed conversation starter.
- Ingredient Quality: Using pure pumpkin puree (not pie filling) preserves the natural earthiness while letting the spice shine, delivering a balanced sweetness.
- Cooking Method: A gentle stovetop simmer combined with a rapid whisk creates micro‑bubbles that lock in flavor, a technique most “no‑cook” versions miss.
- Make‑Ahead Potential: Store it in the fridge for up to a week, and it actually mellows, becoming richer—perfect for lazy mornings.
Inside the Ingredient List
The Flavor Base
First up, the pumpkin puree. This is the heart of the creamer, providing that earthy, slightly sweet backbone. Use pure pumpkin, not the sugary pie filling, because the latter will drown the spice and make the mixture cloyingly sweet. If you skip the puree, you’ll lose the subtle depth that makes each sip feel like a stroll through a pumpkin patch. A great tip: look for canned pumpkin that’s just labeled “100% pumpkin” and give it a quick sniff—if it smells like a fresh‑cut pumpkin, you’ve got the good stuff.
The Texture Crew
Milk and heavy cream are the dynamic duo that give this creamer its luxurious mouthfeel. Whole milk adds body, while the heavy cream contributes richness without turning the mixture greasy. If you’re dairy‑free, swap the milk for oat or almond milk and the cream for a coconut‑based “cream”—just be mindful that coconut will add a faint tropical note, which can be delightful if you’re feeling adventurous. Skipping the cream entirely will result in a thinner pour that lacks the indulgent coating we all crave.
The Sweetener & Spice
Sugar is the subtle sweetener that balances the pumpkin’s earthiness and the spice’s warmth. I stick with granulated sugar because it dissolves quickly, but you could use maple syrup for a deeper flavor profile. The pumpkin pie spice is the star—its blend of cinnamon, nutmeg, ginger, and cloves creates that classic fall vibe. If you’re a spice enthusiast, feel free to add a pinch of all‑spice for an extra kick; just remember, a little goes a long way.
The Final Flourish
Vanilla extract rounds out the flavor profile, adding a sweet, aromatic note that ties everything together. It’s the quiet backstage performer that makes the whole show shine. If you’re out of vanilla, a splash of bourbon or a pinch of almond extract can add an adult twist, but be careful not to overpower the delicate balance. Each ingredient plays a crucial role; omit one, and the symphony turns into a solo that just isn’t as satisfying.
Everything's prepped? Good. Let’s get into the real action…
The Method — Step by Step
Gather all six ingredients on your countertop, giving yourself a visual checklist. This part sounds simple, but trust me, a tidy prep station is half the battle won. I like to measure the milk and cream into a medium saucepan, then set the pumpkin puree, sugar, vanilla, and spice on the side. The moment you see those bright orange and amber hues, you’ll feel a surge of excitement—like a painter seeing a fresh palette.
Place the saucepan over medium‑low heat. Warm the milk and cream together until tiny bubbles begin to form along the edge—this should take about 3‑4 minutes. You’ll hear a gentle simmer, a sound that says “we’re on the right track.” Watch out: if the heat spikes, the mixture can scorch, leaving a burnt aftertaste that ruins the whole batch.
Watch Out: Keep the heat low enough that the liquid barely whispers; a rolling boil will cause the cream to separate.While the dairy is warming, whisk together the pumpkin puree, sugar, vanilla extract, and pumpkin pie spice in a separate bowl. This is the moment where the aroma truly blossoms—imagine a spice market in Marrakech, but cozier. The sugar should dissolve almost instantly in the warm pumpkin, creating a thick, fragrant paste. If you notice any lumps, give it a quick pass with a hand‑held immersion blender.
Kitchen Hack: Add a pinch of salt to the spice mixture; it amplifies the sweet notes without making the final product salty.Once the dairy mixture reaches a gentle simmer, slowly pour the pumpkin‑spice paste into the saucepan, whisking constantly. This is the moment of truth—the two worlds collide, and you’ll see the mixture turn a gorgeous amber‑pumpkin hue. Keep whisking for another 2‑3 minutes; the creamer should thicken just enough to coat the back of a spoon.
Remove the saucepan from heat and let it sit for a minute. This brief pause allows the flavors to meld, like a choir harmonizing after a rehearsal. Then, transfer the creamer to a clean glass jar using a funnel. The jar should be airtight to preserve the fragrance; I recommend a mason jar with a tight‑fitting lid.
Cool the jar to room temperature before sealing it. This prevents condensation inside the jar, which could dilute the creamer later. While you wait, give the jar a gentle shake to ensure any remaining pockets of air are released—think of it as giving your creamer a little massage.
Refrigerate for at least two hours. The chilling process thickens the mixture further, giving it that perfect pour‑over consistency. When you finally dip a spoon into the chilled jar, you’ll notice a glossy sheen that signals it’s ready for coffee domination.
To serve, swirl a generous tablespoon into a hot cup of coffee, letting the heat melt the creamer into a silky swirl. Stir gently; you’ll see the coffee transform from a plain brown to a warm, inviting caramel‑pumpkin swirl. Take a sip, close your eyes, and let the flavors transport you to a cozy porch with a blanket and a crisp breeze.
That's it — you did it. But hold on, I've got a few more tricks that'll take this to another level…
Insider Tricks for Flawless Results
The Temperature Rule Nobody Follows
Most home cooks think “just heat it up” is enough, but the exact temperature makes a world of difference. Keep the dairy mixture between 150°F and 165°F (65‑74°C); this range is hot enough to dissolve sugar and meld flavors, yet low enough to prevent the cream from curdling. If you overshoot, the protein in the milk will seize up, creating a grainy texture that no amount of whisking can fix. I keep a candy thermometer on hand—trust me, the extra seconds saved are worth the flawless finish.
Why Your Nose Knows Best
Never underestimate the power of smell as a cooking gauge. When the pumpkin‑spice blend releases its warm, aromatic perfume, you know the spices have fully awakened. If the scent is muted, give it another 30 seconds on low heat—this extra time extracts more essential oils from the spices, deepening the flavor without adding more powder. Trust your nose; it’s the most reliable kitchen sensor.
The 5‑Minute Rest That Changes Everything
After whisking, let the creamer sit uncovered for five minutes before sealing the jar. This short rest allows any tiny air bubbles to escape, preventing a foamy top that can look unappealing when poured. A friend once tried to skip this step, and the result was a frothy mess that looked more like a latte foam than a creamer. The lesson? Patience, even for five minutes, is a game‑changer.
Shake, Don’t Stir, for Storage
When you retrieve the creamer from the fridge, give the jar a vigorous shake instead of stirring with a spoon. This re‑emulsifies any settled fat, ensuring every pour is as smooth as the first. If you stir, you risk breaking the emulsion, leading to a watery layer on top. A good shake revives the texture in seconds.
Seasonal Spice Swap
If you want to experiment beyond pumpkin, try swapping half the pumpkin pie spice for chai spice or a dash of cardamom. This subtle shift adds an exotic twist while preserving the creamy base. I tried it once for a holiday party, and the reaction was electric—people loved the unexpected depth. Remember, the base stays the same; only the spice profile changes.
Creative Twists and Variations
This recipe is a playground. Here are some of my favorite ways to switch things up:
Maple‑Brown Sugar Bliss
Replace the granulated sugar with an equal amount of brown sugar and add a tablespoon of pure maple syrup. The result is a caramel‑rich creamer that pairs beautifully with dark roast coffee, adding a hint of smoky sweetness.
Spiced Chai Fusion
Swap the pumpkin pie spice for a chai spice blend (cinnamon, cardamom, ginger, and clove). The creamer takes on a warm, tea‑like character, perfect for those who love a latte with a twist of India.
Vegan Coconut Dream
Use full‑fat coconut milk in place of dairy milk and coconut cream instead of heavy cream. The coconut adds a subtle tropical note, and the texture remains luxuriously thick. Just be aware that the coconut flavor will dominate, so pair it with a light roast.
Mocha‑Pumpkin Fusion
Stir in a tablespoon of unsweetened cocoa powder and a pinch of instant coffee granules into the pumpkin‑spice mixture before combining with the dairy. The result is a chocolate‑pumpkin hybrid that feels like a dessert in a cup.
Nutty Hazelnut Twist
Add a tablespoon of hazelnut extract and a drizzle of hazelnut oil to the finished creamer. This adds a nutty richness that complements the pumpkin’s earthiness, creating a flavor reminiscent of a seasonal latte from a high‑end café.
Low‑Sugar Light
Swap the sugar for a natural sweetener like stevia or erythritol, and use half‑and‑half instead of heavy cream. The creamer stays creamy but drops the calorie count, making it a guilt‑free treat for those watching their sugar intake.
Storing and Bringing It Back to Life
Fridge Storage
Transfer the cooled creamer into a clean, airtight glass jar and store it in the refrigerator for up to seven days. The flavors continue to meld, becoming richer with each day. Give the jar a gentle shake before each use to recombine any settled fats.
Freezer Friendly
If you’ve made a big batch, the creamer freezes beautifully for up to three months. Portion it into ice‑cube trays, then transfer the frozen cubes to a zip‑top bag. When you need a fresh pour, simply thaw a cube in the microwave for 15 seconds and give it a quick stir.
Best Reheating Method
When you’re ready to use a refrigerated batch, warm it gently on the stovetop over low heat, stirring constantly. If the creamer looks a bit thick, add a splash of water (about a teaspoon per cup) and whisk; the steam will bring it back to a perfect pour‑over consistency without diluting the flavor.