Picture this: it’s a rainy Thursday night, the fridge is a gray sea of leftovers, and your stomach is a drum that won’t stop echoing. I’m standing in front of my Instant Pot, a half‑baked lasagna that smells like it’s been sitting too long, and I’m about to make a decision that will change the way I think about vegetarian dinners forever. I swear, that moment of culinary crisis was the spark that lit the fire behind this recipe.
There’s a reason I’ve never been able to resist a dish that feels like a hug in a bowl. The aroma of sautéed onions and garlic instantly transports you to a bustling street market in Delhi, where spices are tossed like confetti. The sound of the Instant Pot’s whistle is a gentle promise that everything will come together in just a few minutes. When you take the first spoonful, the coconut milk’s silky richness embraces the bright, tangy tomatoes, and the curry powder’s earthy warmth lingers on your palate like a secret handshake.
What sets this version apart is not just the bold flavors, but the way each ingredient works in harmony. The vegetables aren’t just tossed in; they’re layered with purpose, creating a spectrum of textures that dance in each bite. I dare you to taste this and not go back for seconds, because once you’ve experienced the depth of this sauce, you’ll find yourself craving the next bite before the first even finishes. This is hands down the best version you’ll ever make at home, and it’s a game‑changer for any Instant Pot enthusiast.
Stick with me as we walk through every single step. By the end, you’ll wonder how you ever made it any other way. I’ll reveal a secret ingredient that adds a surprising twist and a technique that ensures the veggies stay perfectly tender. Trust me, you’re about to discover a new staple that will dominate your dinner table for weeks to come.
What Makes This Version Stand Out
- Taste: The blend of curry powder, cumin, and turmeric creates a complex flavor profile that feels both exotic and comforting. The fresh lemon juice cuts through the richness, giving the dish a bright, refreshing finish that keeps the palate excited.
- Texture: Each vegetable is cooked to just the right consistency—carrots and potatoes remain slightly firm, while cauliflower and spinach soften into velvety ribbons that cling to the sauce.
- Ease: No chopping board gymnastics; the Instant Pot does all the heavy lifting. This recipe is a one‑pot wonder that saves time and reduces cleanup.
- Uniqueness: The combination of diced tomatoes and coconut milk is a bold departure from the usual yogurt or cream bases, delivering a richer, sweeter undertone that’s hard to resist.
- Crowd‑pleaser: Whether you’re feeding a family, a group of friends, or a solo dinner, the vibrant colors and robust flavors guarantee applause at the table.
- Ingredient Quality: Fresh ginger and fresh cilantro elevate the dish, while canned tomatoes provide a consistent, high‑quality base that’s available year‑round.
- Method: The Instant Pot’s pressure cooking locks in flavors and nutrients, turning a simple vegetable medley into a gourmet experience.
- Make‑ahead Potential: This curry keeps its integrity after refrigeration, making it an excellent option for meal prep or a quick dinner after a long day.
Inside the Ingredient List
The Flavor Base
At the heart of this curry lies a trio that sings together: diced tomatoes, coconut milk, and a generous handful of curry powder. The tomatoes provide acidity and sweetness, cutting through the coconut’s richness. Coconut milk adds a velvety mouthfeel, turning the sauce into a silky blanket that clings to every vegetable. The curry powder brings warmth, depth, and a touch of earthiness that anchors the dish.
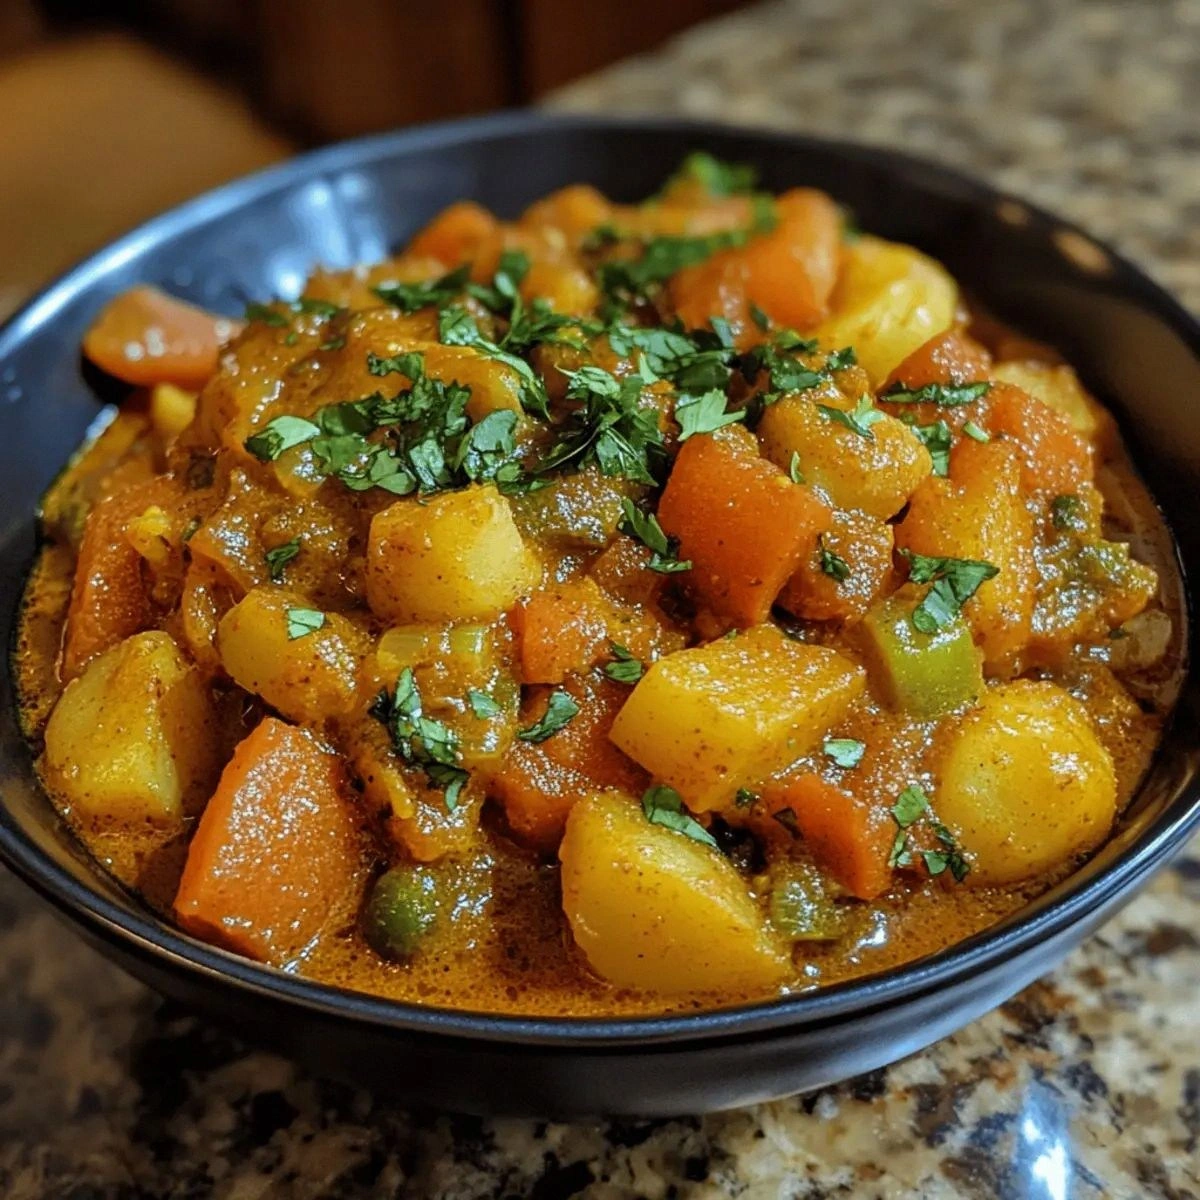
The Texture Crew
Carrots, cauliflower, potatoes, green peas, spinach, and onions are the texture crew, each bringing its own character. Carrots add a subtle crunch that balances the softness of cauliflower. Potatoes provide body and heartiness, absorbing the sauce’s flavors. Green peas offer bursts of sweetness and a pop of color, while spinach’s delicate leaves wilt into the sauce, adding a fresh, leafy note. The onions, when sautéed, release a caramelized sweetness that grounds the entire flavor profile.
The Unexpected Star
Fresh ginger is the unexpected star that gives this curry a punch of zing without overpowering. It’s the spark that ignites the aromatics, creating a subtle heat that lingers on the tongue. If you’re not a fan of raw ginger, you can lightly sauté it with garlic and onions to mellow its bite while preserving its aromatic essence.
The Final Flourish
Fresh cilantro and lemon juice are the final flourish that turns a good curry into a great one. Cilantro’s bright, citrusy aroma lifts the dish, while lemon juice adds a bright, tart contrast that brightens the richness of coconut milk. Together, they create a harmonious balance that keeps the dish lively and fresh.
Everything's prepped? Good. Let's get into the real action...
The Method — Step by Step
- Prep the aromatics: Dice the onion, mince the garlic, and grate the ginger. I swear, the aroma that fills the kitchen at this point is enough to make a cat chase a laser pointer. Set them aside, and let the anticipation build.
- Saute the base: Turn the Instant Pot to sauté mode. Add a splash of oil and let the onions soften until translucent, about 3 minutes. Then toss in garlic and ginger, letting them sizzle until fragrant, around 30 seconds. The sizzling sound is the soundtrack to a delicious future.
- Introduce the spices: Sprinkle in the curry powder, cumin, turmeric, and chili flakes. Stir constantly for 1 minute to toast the spices, releasing their essential oils. This step is crucial; it transforms raw spices into aromatic fireworks.
- Add tomatoes and coconut milk: Pour in the canned diced tomatoes and coconut milk, stirring to combine. The mixture should look like a golden, glossy sauce. This is the moment of truth—watch the colors deepen as the spices meld.
- Add the vegetables: Gently fold in the carrots, cauliflower, potatoes, peas, spinach, and onions. Make sure everything is submerged in the sauce. The vegetables will steam and absorb the flavors during pressure cooking.
- Seal and cook: Close the lid, set the valve to seal, and select high pressure for 8 minutes. The timer will tick down, and the Instant Pot will do the rest. I dare you to resist the temptation to peek.
- Natural release: Once the cooking time ends, allow the pressure to release naturally for 10 minutes before quick‑releasing the remaining pressure. This gentle release keeps the vegetables tender and prevents them from becoming mushy.
- Finish with fresh touches: Open the lid, stir in fresh cilantro and lemon juice. The bright citrus will cut through the richness, and the cilantro will add a burst of green freshness.
- Adjust thickness if needed: If the curry feels too thin, turn on sauté mode again and simmer for a few minutes, or add a cornstarch slurry. The sauce should coat the vegetables like velvet, not drip off.
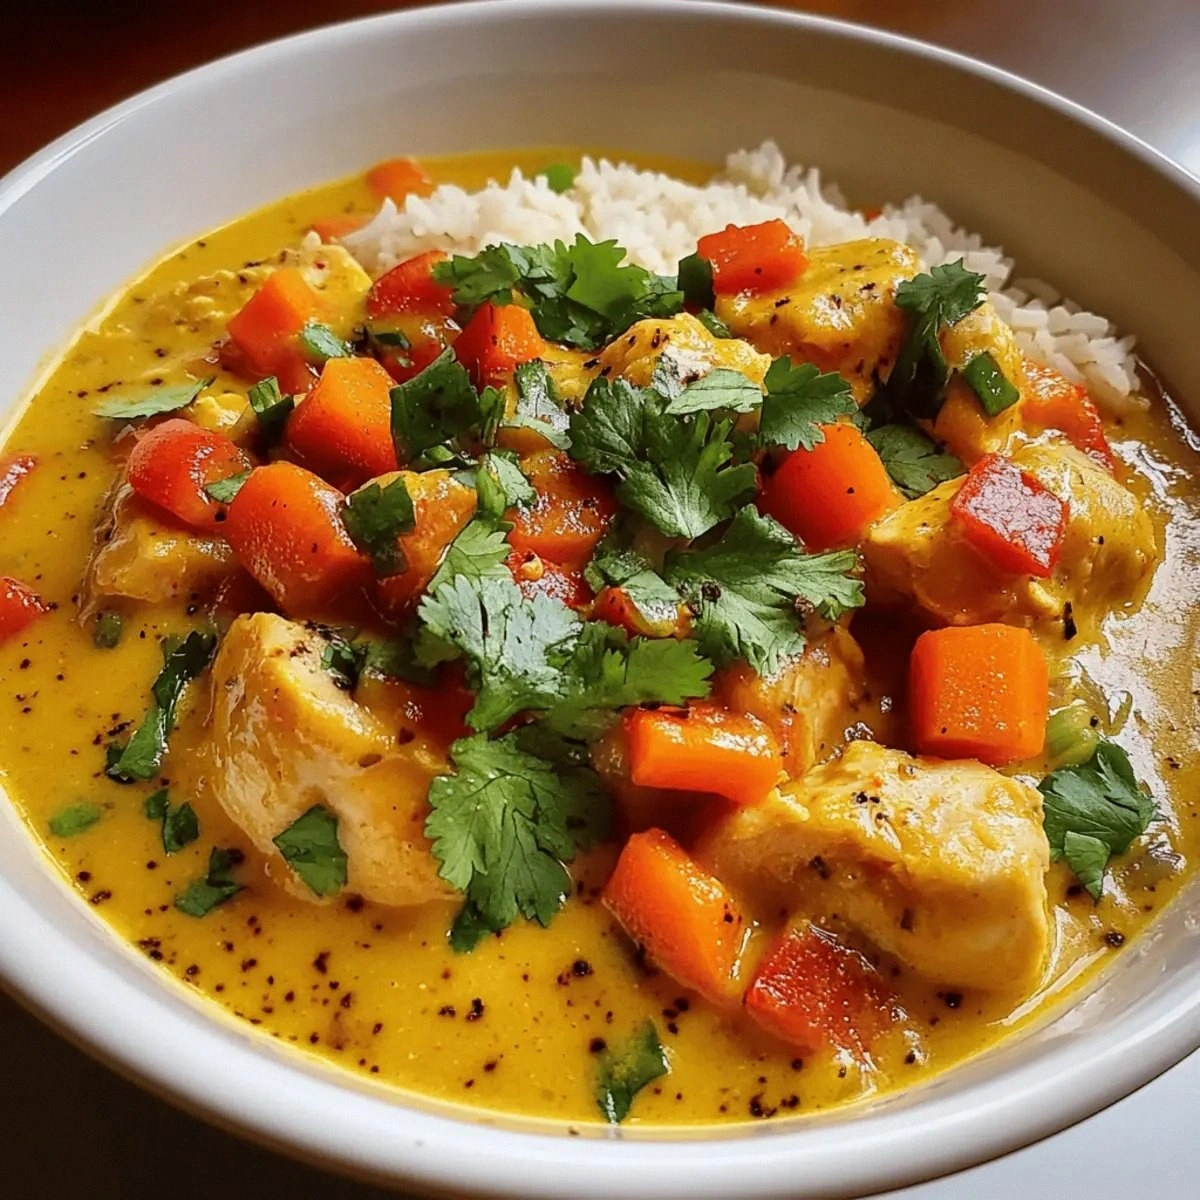
- Serve: Spoon the curry over steamed rice or warm naan. Garnish with extra cilantro if you like. The final presentation should look as vibrant as it tastes.
That's it — you did it. But hold on, I've got a few more tricks that'll take this to another level...
Insider Tricks for Flawless Results
The Temperature Rule Nobody Follows
Many people set the Instant Pot to high pressure and let it run for the full 10 minutes, but the optimal time for this curry is 8 minutes. The shorter cook preserves the vegetables’ bite and keeps the sauce from becoming overly thick. I learned this after a disastrous batch where the carrots turned to mush. Stick to 8 minutes for that perfect bite.
Why Your Nose Knows Best
Before you even turn the pot on, sniff the sautéed aromatics. If the smell feels underwhelming, let the spices toast a bit longer. The aroma is a direct indicator of how deep the flavors have developed. Trust your nose; it’s your best chef guide.
The 5-Minute Rest That Changes Everything
After the natural pressure release, let the pot sit for an additional 5 minutes before opening. This pause allows the residual heat to finish cooking the vegetables gently, preventing them from overcooking during the quick release. I’ve seen the difference in texture; it’s worth the extra time.
Layering for Visual Appeal
When you add vegetables to the pot, layer them strategically: start with the denser ones like potatoes, then add cauliflower, carrots, peas, spinach, and onions last. This layering ensures each vegetable cooks at its own pace, giving the curry a beautiful gradient of colors. The visual appeal makes the dish as delightful to look at as it is to taste.
Make‑Ahead Magic
Cool the curry completely before refrigerating. The flavors deepen overnight, making it even more delicious the next day. When reheating, add a splash of water or coconut milk to loosen the sauce, and warm it over low heat. This trick keeps the curry from drying out.
Creative Twists and Variations
This recipe is a playground. Here are some of my favorite ways to switch things up:
Spicy Peanut Version
Swap the coconut milk for a mix of coconut milk and peanut butter. Add a tablespoon of peanut sauce for an extra layer of nutty richness. This variation is perfect for those who love a hint of sweet, savory, and spicy all in one.
Indian Masala Twist
Replace the curry powder with garam masala and add a pinch of cardamom. Finish with a drizzle of ghee for an indulgent, buttery finish that feels like a traditional Indian feast.
Low‑Carb Delight
Omit the potatoes and replace them with cauliflower rice. Keep the rest of the ingredients the same. This version is great for anyone watching their carb intake while still enjoying a hearty, flavorful curry.
Protein‑Packed Power
Add chickpeas or tofu after the pressure release for a protein boost. Stir them in gently to keep them intact. This makes the dish more filling without compromising texture.
Smoky Chipotle Touch
Include a tablespoon of chipotle in adobo for a smoky depth. The chipotle’s heat pairs beautifully with the sweetness of the tomatoes and coconut milk, creating a complex flavor profile.
Fresh Herb Finale
Finish the dish with a handful of fresh mint or basil instead of cilantro. The mint adds a refreshing zing that brightens the curry, especially on hot days.
Storing and Bringing It Back to Life
Fridge Storage
Store the curry in an airtight container in the refrigerator for up to 4 days. The sauce will thicken slightly as it cools, so add a splash of water or coconut milk before reheating to restore its silky texture.
Freezer Friendly
Freeze the curry in freezer‑safe containers for up to 3 months. Thaw overnight in the refrigerator before reheating. This makes it a convenient meal prep option for busy weekdays.
Best Reheating Method
Reheat on the stovetop over low heat, stirring occasionally. Add a small amount of water or coconut milk to loosen the sauce. The gentle heat preserves the delicate flavors and ensures the vegetables remain tender.