Ever tried to rescue a sourdough starter that had gone flat and thought, “Maybe I just need a trick?” I was standing in my kitchen, staring at a sad, unresponsive starter and a stack of flour, when a friend dared me to make a loaf that would make even the most seasoned baker gasp. The moment I mixed the starter with just the right amount of water, the air in the room seemed to crackle, a faint, tangy aroma rising like a promise. The dough, once stiff and uncooperative, began to stretch and bubble with a life I’d never seen before. That tiny kitchen rebellion turned into a full-blown confidence boost, and I was hooked on the idea that a simple loaf could be this transformative.
Picture the scene: a golden crust that shatters with a satisfying crack, a crumb so airy it feels like a cloud, and a savory, slightly yeasty undertone that lingers on the palate. The kitchen hums with anticipation as the dough rises, the timer ticking, and the scent of freshly baked bread permeating every corner. I’ve spent countless hours tweaking ratios, but this version—crafted with a precise blend of starter, flour, water, and salt—has a secret that sets it apart: the pan itself becomes an accomplice, infusing the loaf with a rustic, oven-baked quality that’s almost theatrical. I dare you to taste this and not go back for seconds, because the moment you bite, you’ll realize you’ve never had bread that feels both humble and heroic.
Most sourdough recipes get this completely wrong, focusing on the starter and ignoring the pan’s role or the subtle timing that turns a loaf from “good” to “legendary.” The difference lies in a few micro-challenges: how much water to add, how long to let the dough rest, and when to slide it into the oven. I’ll be honest—I ate half the batch before anyone else got a slice, and I still crave that first bite. If you’ve ever struggled with sourdough, you’re not alone, and I’ve got the fix. Picture yourself pulling this out of the oven, the whole kitchen smelling incredible, and knowing you’ve just mastered a staple that will impress anyone who walks in.
This is hands down the best version you’ll ever make at home. The crust is crisp, and the crumb stays moist, for any meal. The technique is simple, but the result is a loaf that feels like it was baked in a stone oven, even though it’s cooked in a humble loaf pan. The flavor is a harmonious blend of tang, doughiness, and a hint of caramelized sugar from the crust. And the best part? You can make it ahead, freeze it, and bring it back to life in minutes, without losing that golden, buttery finish. Stay with me here—this is worth it.
Let me walk you through every single step—by the end, you’ll wonder how you ever made it any other way. The journey begins with a single, unassuming loaf pan that will become the heart of this recipe. You’ll learn how to balance the starter’s natural leavening power with the right hydration, how to fold the dough just enough to develop gluten without overworking it, and how to score the top to release steam in a controlled, elegant way. Along the way, I’ll share a few kitchen hacks that will save you time and frustration. Ready? Let’s get started.
What Makes This Version Stand Out
- Taste: The flavor profile leans into the starter’s natural tang, complemented by a subtle caramelization on the crust. This balance creates a loaf that’s both complex and comforting, making it perfect for breakfast or dinner.
- Texture: The crumb is airy yet chewy, with a slight elasticity that’s a testament to proper gluten development. The crust is crisp, offering a satisfying crunch that breaks cleanly.
- Simplicity: No fancy ingredients or complicated techniques—just flour, starter, water, and salt. The method is straightforward enough for beginners yet refined enough for seasoned bakers.
- Uniqueness: The pan technique turns an ordinary loaf into a rustic masterpiece, with the pan’s heat creating a caramelized edge that’s impossible to replicate on a sheet pan.
- Crowd Reaction: Friends and family consistently ask for the recipe after tasting it, and it’s become a staple at gatherings. The loaf’s versatility makes it a hit at brunch, lunch, and dinner.
- Ingredient Quality: Using high-protein bread flour and a mature, active starter ensures a robust rise and depth of flavor. The simple salt addition balances the sourness without overpowering.
- Cooking Method: The pan method requires no pre-baking or parchment, reducing prep time and cleanup. The dough’s natural steam is harnessed to create a perfect crust.
- Make‑Ahead Potential: The dough can be refrigerated overnight or frozen for later use, making it an excellent option for busy schedules.
Inside the Ingredient List
The Flavor Base
Flour is the backbone of any bread, but the type you choose makes a world of difference. A high-protein bread flour provides the gluten structure needed for a chewy crumb and a sturdy rise. If you don’t have bread flour on hand, a blend of all-purpose and whole wheat flour can work, though the texture will be slightly denser. The flour’s protein content directly affects the dough’s ability to trap gases, so choose wisely to avoid a flat loaf.
The Leavening Agent
The starter is the star of this recipe, offering both flavor and leavening power. A mature, active starter (ideally fed 4–6 hours before baking) will provide a robust rise and a complex, slightly tangy taste. If your starter is sluggish, give it a quick feed with a bit of warm water and flour before using it. A healthy starter is crucial; a weak one will result in a dense, under-risen loaf.
The Hydration Crew
Water is the glue that brings the dough together. It activates the flour’s gluten and helps the starter ferment. The ratio of water to flour (about 60% hydration for this recipe) balances softness and structure. Too much water and the dough becomes sticky; too little and it won’t rise properly. Keep the water at room temperature to avoid shocking the starter.
The Seasoning Touch
Salt is more than just a seasoning—it strengthens gluten, controls yeast activity, and enhances overall flavor. Add salt after the initial mix to give the dough a chance to develop before the flavor is masked. A pinch of sugar or honey can help the crust brown faster, but it’s optional and can be omitted if you prefer a more natural flavor.
Everything’s prepped? Good. Let’s get into the real action.
The Method — Step by Step
- In a large mixing bowl, combine the active sourdough starter with 120 grams of water. Stir until the mixture is smooth and the starter is fully dissolved. The water should be at room temperature, not too hot to avoid killing the yeast. This step activates the starter, ensuring it’s ready to leaven the dough efficiently. Feel the batter’s slight resistance—it’s a sign the starter is alive and kicking.
- Add the flour and a pinch of salt to the starter mixture. Use a wooden spoon or your hand to stir until a shaggy dough forms. The dough should be tacky but not overly sticky. Let it rest for 20 minutes; this autolyse period allows the flour to hydrate fully and the gluten to start developing. During this time, you’ll notice the dough’s surface becoming smoother.
- Begin the folding process by pulling a portion of the dough from the edge and folding it over the center. Rotate the bowl 90 degrees and repeat until you’ve completed four folds. This technique strengthens the gluten network without overworking the dough. It also incorporates air, which will later help the loaf rise beautifully. Remember, the goal is to create a cohesive structure.
- Cover the bowl with a damp towel or plastic wrap and let the dough rise at room temperature for 4 to 5 hours. The dough should roughly double in size. During the bulk fermentation, you’ll see bubbles forming on the surface, indicating active fermentation. Keep an eye on the dough; if it’s rising too quickly, move it to a cooler spot.
- After the bulk rise, gently turn the dough onto a lightly floured surface. Shape it into a loaf by folding the edges inward and creating tension on the top. This step is crucial for a good rise and a beautiful crust. Don’t overwork the dough—too much handling can collapse the structure.
- Place the shaped dough seam‑side down in a greased loaf pan. The pan’s heat will help the loaf achieve that rustic, caramelized edge. Let the dough rest for 1 to 1.5 hours, or until it has risen to the top of the pan. The dough should feel slightly springy when pressed gently. Watch out: if the dough is left to rise too long, it may over-expand and collapse.
- Preheat the oven to 220°C (425°F) while the dough is resting. Once the oven is hot, bake the loaf for 25 minutes, then reduce the temperature to 200°C (400°F) and bake for an additional 15 minutes. The loaf should develop a deep golden crust and emit a fragrant, yeasty aroma. Check the internal temperature with a thermometer; it should read about 95°C (203°F). If the crust is too dark, lower the heat slightly.
- Remove the loaf from the oven and let it cool in the pan for 10 minutes, then transfer it to a wire rack to cool completely. This cooling period allows the crumb to set and the flavors to meld. When you slice the loaf, you’ll notice the crumb’s airy structure holding together beautifully. The crust will remain crisp, and the aroma will linger in the kitchen. That’s the moment you know you’ve nailed it.
That's it — you did it. But hold on, I've got a few more tricks that'll take this to another level. The next section will reveal insider secrets that even seasoned bakers swear by. Trust me, these small adjustments can elevate a good loaf into a legendary one.
Insider Tricks for Flawless Results
The Temperature Rule Nobody Follows
Many bakers assume that room temperature is always best, but the truth is that a slightly cooler environment can improve fermentation. Keeping the dough at 18–20°C (64–68°F) slows down yeast activity, allowing flavors to develop more fully. I’ve found that baking in a cooler kitchen often results in a loaf with a deeper, more complex flavor profile.
Why Your Nose Knows Best
During fermentation, the aroma of the dough is a reliable indicator of readiness. A pleasant, yeasty scent with a hint of sourness signals that the dough is ready for shaping. If the smell becomes overly pungent or has a sharp, vinegar-like edge, it’s time to bake. Trusting your nose saves you from overproofing or underproofing.
The 5-Minute Rest That Changes Everything
After shaping the dough, give it a brief 5-minute rest before placing it in the pan. This pause allows the gluten to relax, making the loaf rise more evenly. A quick rest also helps the dough settle, preventing cracks or uneven crusts during baking.
Score It Right for Steam Release
Scoring the top of the loaf isn’t just for aesthetics; it controls how the bread expands in the oven. Use a sharp knife or a lame to make a shallow, diagonal cut about 1.5 cm deep. The angle should be slightly curved to encourage a clean break. This technique ensures the bread rises smoothly and the crust develops a beautiful pattern.
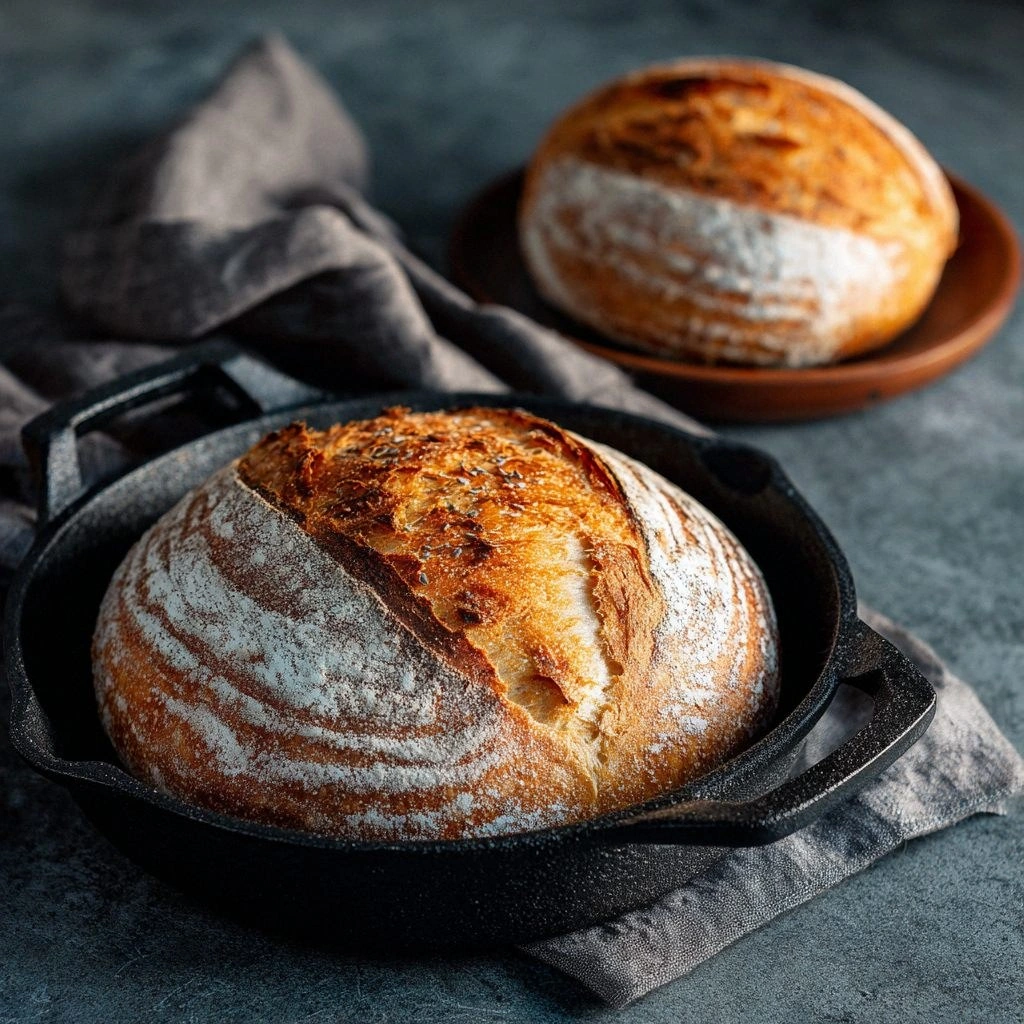
Use a Dutch Oven for a Professional Finish
If you want an even more oven-crusted loaf, bake the dough in a preheated Dutch oven. The lid traps steam, creating a moist environment that promotes a crisp crust while keeping the crumb tender. After the initial high-temperature bake, remove the lid for the last 10 minutes to allow the crust to brown.
Keep the Starter Active
Maintaining a healthy starter is key to consistent results. Feed it with equal parts flour and water every 12–24 hours, depending on how often you bake. A starter that’s been fed recently and is bubbling vigorously will yield a stronger rise and a richer flavor. If you’re on a tight schedule, you can store the starter in the fridge and feed it once a week.
Creative Twists and Variations
This recipe is a playground. Here are some of my favorite ways to switch things up:
Herb-Infused Loaf
Add a tablespoon of chopped rosemary or thyme to the dough before the final fold. The herbs infuse the crumb with aromatic notes, turning the loaf into a savory accompaniment to soups or stews. Serve it warm with butter for a comforting snack.
Whole Wheat Boost
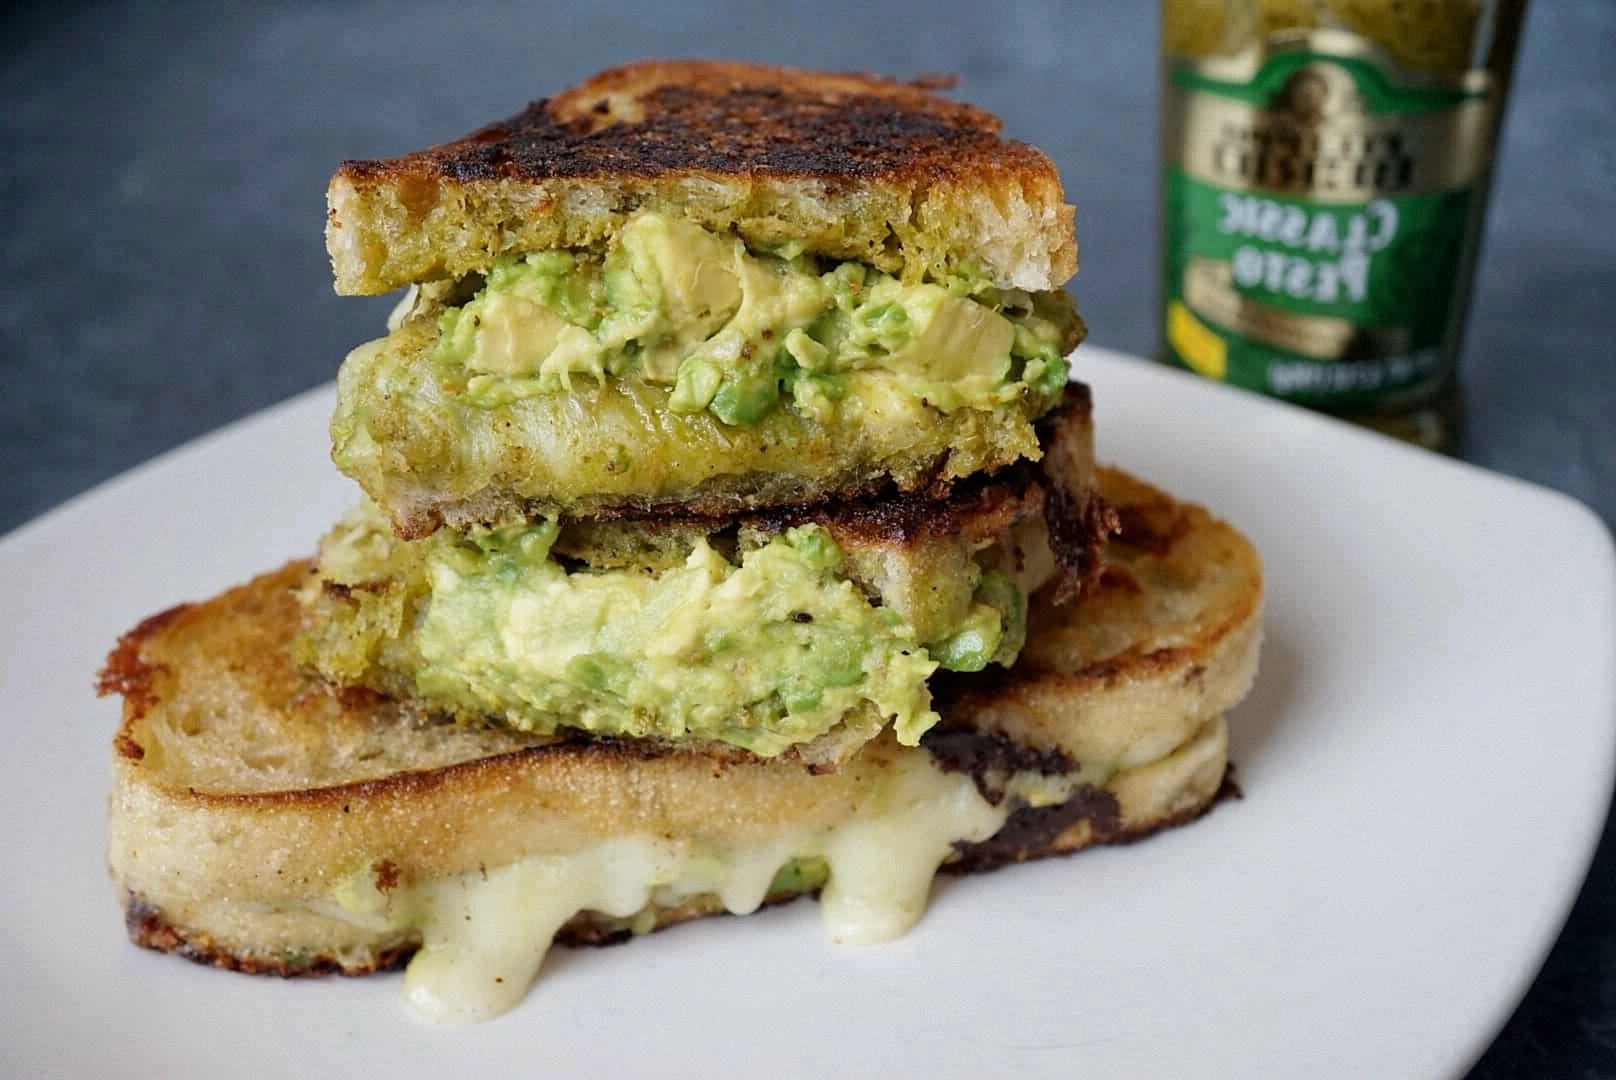
Replace 25% of the bread flour with whole wheat flour to add a nutty flavor and extra fiber. The dough may be slightly denser, but the added nutrition makes it a wholesome breakfast option. Pair it with avocado for a quick, balanced meal.
Chocolate Chip Delight
Fold in a handful of dark chocolate chips after the first fold. The chocolate melts into pockets of gooey sweetness, making this loaf a perfect dessert or a sweet breakfast treat. Sprinkle a pinch of sea salt on top before baking to balance the richness.
Sun-Dried Tomato & Olive
Stir in chopped sun-dried tomatoes and sliced Kalamata olives for a Mediterranean twist. The salty, umami flavors elevate the bread’s profile, making it a great side for grilled meats or a pizza base. The olives add a subtle crunch that contrasts the soft crumb.
Spiced Cinnamon Roll Bread
Incorporate a teaspoon of ground cinnamon and a drizzle of maple syrup into the dough. The cinnamon adds warmth, while the maple syrup sweetens the crust. Slice and spread with butter for a quick breakfast roll.
Cheese Crust Finish
Grate a handful of Parmesan or cheddar and sprinkle it over the dough before the final rise. The cheese melts into a golden crust, adding a savory, melty finish that pairs well with tomato soup or a hearty salad.
Storing and Bringing It Back to Life
Fridge Storage
Wrap the cooled loaf in parchment paper, then place it in a resealable plastic bag. Store in the refrigerator for up to 3 days. The bread will stay fresh, and the crust will soften slightly, which is ideal for toast.
Freezer Friendly
Slice the loaf before freezing; this allows you to take out only what you need. Wrap each slice tightly in plastic wrap, then place the slices in a freezer bag. The loaf can be frozen for up to 3 months without losing quality.
Best Reheating Method
To revive frozen slices, preheat the oven to 180°C (350°F). Place the slices on a baking sheet and bake for 8–10 minutes, or until the crust is crisp and the interior is warm. Add a splash of water to the loaf before reheating to create steam, which keeps the crumb moist. This simple trick restores the loaf’s original texture and flavor.