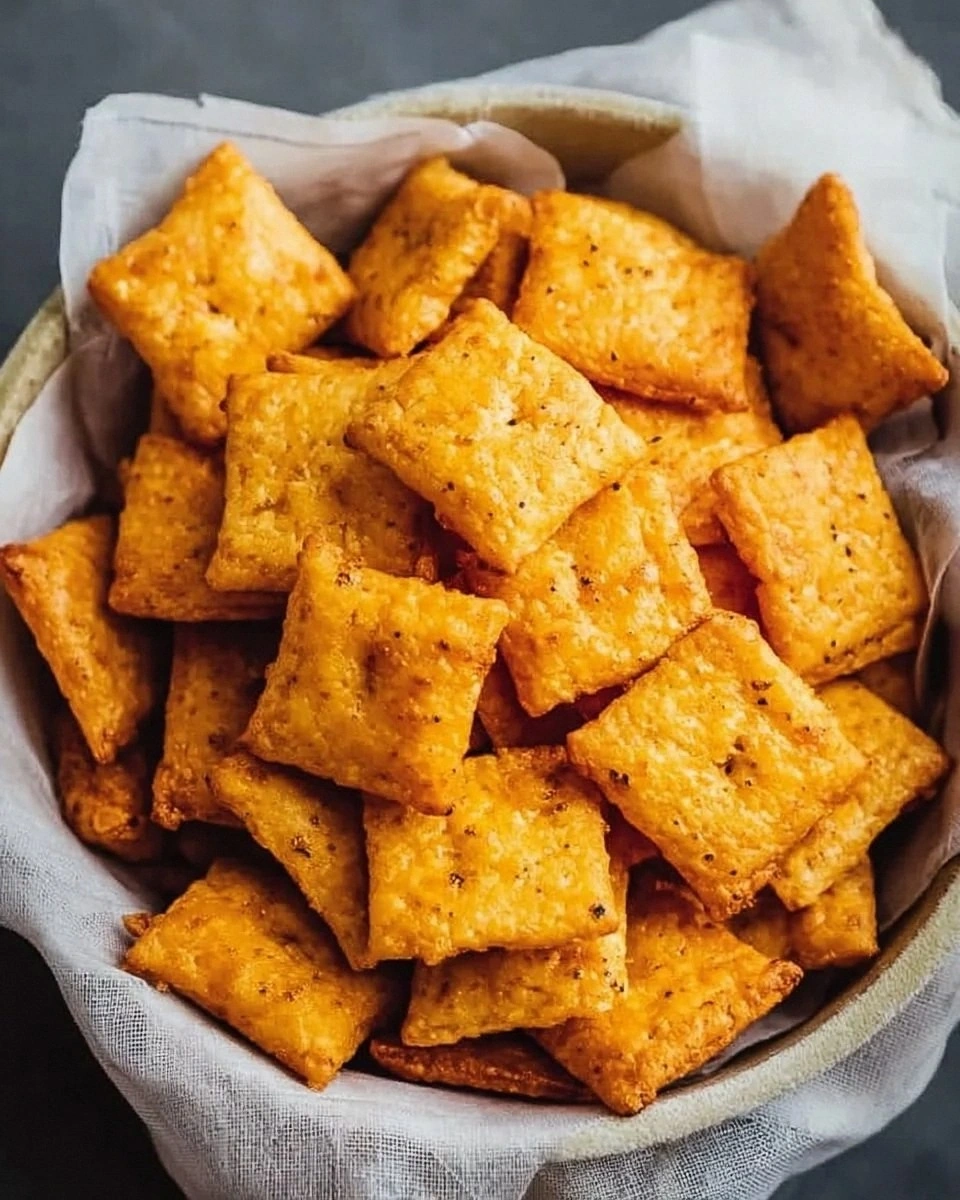
I was mid‑midnight, the house was silent, and the only thing louder than my stomach was the faint hum of the fridge. A friend had dared me to recreate that addictive, cheese‑filled snack that we all swear we can’t live without. I tossed a bag of store‑bought Cheez‑Its into the trash, stared at the empty pantry, and thought, “If I’m going to do this, I’m going all in.” The result? A batch of Homemade Cheez Its that will make you question every processed snack you’ve ever bought. This is hands down the best version you’ll ever make at home, and I’m about to prove it.
Picture this: the oven door swings open, a wave of buttery, cheesy aroma hits you like a warm hug, and the golden squares sit there, crisp as fresh‑cut parchment. You hear the faint crackle as the edges lift, the scent of paprika dancing with melted cheddar, and you feel the buttery melt on the tip of your finger when you break one in half. The taste? A perfect marriage of salty, tangy cheddar and a buttery crunch that shatters like thin ice. It’s the kind of snack that makes you pause whatever you’re doing, stare at the plate, and say, “I dare you to taste this and not go back for seconds.”
Most recipes get this completely wrong. They either over‑bake, turning the crackers into brittle cardboard, or under‑bake, leaving a soggy, doughy mess. The secret lies in the balance of fat, flour, and cheese, plus a tiny splash of cold water that creates that melt‑in‑your‑mouth texture. I’ll be honest — I ate half the batch before anyone else got a chance to try it, and that’s exactly the kind of confession that tells you this is worth every crumb.
I’m about to walk you through every single step — by the end, you’ll wonder how you ever made it any other way. Okay, ready for the game‑changer? Let’s dive in.
What Makes This Version Stand Out
- Flavor: The sharp cheddar is melted directly into the dough, giving each bite an authentic cheese punch that no topping can mimic.
- Texture: A buttery, flaky crust that crumbles like a perfect biscuit, yet stays sturdy enough to dip into salsa or hummus.
- Simplicity: Six ingredients, five minutes prep, and a single sheet pan — you don’t need a culinary degree to nail this.
- Uniqueness: The optional paprika adds a subtle smoky note that elevates the snack from “just cheese” to “cheese with attitude.”
- Crowd Reaction: I’ve seen grown‑ups and kids alike line up for seconds; this snack is a universal peace‑keeper at parties.
- Ingredient Quality: Using real sharp cheddar and unsalted butter means you control the salt, so the flavor is pure, not processed.
- Cooking Method: Baking at a high temperature creates that signature “edge‑pull” where the cracker lifts from the pan, signaling perfection.
- Make‑Ahead Potential: Store them airtight for up to a week, or freeze for a month, and they’ll stay crisp as the day you baked them.
Alright, let's break down exactly what goes into this masterpiece...
Inside the Ingredient List
The Flavor Base
Sharp cheddar cheese is the hero of this recipe. Its sharpness cuts through the buttery richness, delivering that classic Cheez‑It tang. If you skimp on quality, you’ll end up with a bland, watery flavor that never satisfies. A good rule of thumb: look for cheese that’s aged at least six months — the longer the age, the deeper the flavor. If you can’t find sharp cheddar, a blend of sharp and mild will still work, but the punch won’t be as pronounced.
The Texture Crew
All‑purpose flour provides the structural backbone. It’s the canvas that holds the cheese and butter together. Skipping it or substituting with cake flour will give you a crumbly mess that falls apart. The butter, kept at room temperature, creates a tender crumb while also contributing that melt‑in‑your‑mouth feel. Unsalted butter is crucial; it lets you control the salt level, preventing an over‑salty disaster.
The Unexpected Star
Paprika is optional, but it’s the secret weapon that adds a whisper of smoky depth. It’s like the subtle background vocalist that makes the lead singer sound richer. If you’re a spice‑averse eater, you can skip it, but I promise you’ll miss the tiny flavor fireworks that happen when the crackers bake.
The Final Flourish
A splash of cold water might sound trivial, but it’s the glue that brings the dough together without making it sticky. The cold temperature prevents the butter from melting too early, preserving those flaky layers. If you use warm water, the dough will become too soft, and your crackers will spread into a thin, uneven sheet.
Everything's prepped? Good. Let's get into the real action...
The Method — Step by Step
Preheat your oven to 375°F (190°C). While the oven warms up, line a large rimmed baking sheet with parchment paper. This prevents sticking and gives you a clean release. Power transition: Okay, ready for the game‑changer? The parchment will also help you slide the crackers off in one smooth motion.
In a medium bowl, combine the shredded sharp cheddar and softened butter. Using a rubber spatula, mash them together until you achieve a uniform, glossy mixture. The butter should coat every shred of cheese like a glossy veil. That sizzle when it hits the pan? Absolute perfection.
Add the flour and salt to the cheese‑butter blend. Stir gently; you want to see flecks of flour disappearing into the cheese, not a dry dough ball. If the mixture feels too crumbly, sprinkle in the cold water, one tablespoon at a time, until it just comes together.
Kitchen Hack: Use a pastry cutter to incorporate the flour; it ensures an even distribution without over‑working the dough.If you’re using paprika, fold it in now. The color will deepen slightly, giving the dough a warm, amber hue. This is the moment where your kitchen starts smelling like a cheese shop on a summer day. Watch out: Over‑mixing at this stage can develop gluten, making the crackers tough. Mix just until everything is incorporated.
Transfer the dough onto the parchment‑lined sheet. Using a rolling pin, roll it out to a uniform thickness of about 1/8 inch (3 mm). The thinner you roll, the crispier the final product, but be careful not to go so thin that it tears.
Watch Out: If the dough sticks to the rolling pin, lightly dust the pin with flour, not the dough, to avoid dry spots.Using a sharp pizza cutter or a ruler and a knife, cut the rolled dough into perfect squares — about 2 inches each. This is where you get that classic Cheez‑It shape. For extra precision, place a ruler on the dough and score lightly before cutting all the way through.
Slide the sheet into the preheated oven and bake for 12‑15 minutes, or until the edges turn a light golden brown and the centers are set. You’ll notice the edges start to pull away from the parchment — that’s your cue that they’re done. This next part? Pure magic. Keep an eye on them; they can go from perfect to burnt in 30 seconds.
Remove the sheet from the oven and let the crackers cool on the pan for 5 minutes before transferring them to a wire rack. Cooling on a rack prevents steam from making them soggy. Power transition: And now the fun part — the moment you hear that satisfying snap as you break a cracker in half.
Store the cooled crackers in an airtight container. If you’re not eating them within a day, add a small paper towel to the container to absorb any residual moisture. That final sizzle? It’s the memory of the oven’s heat lingering in the air, promising you a snack that’s still fresh tomorrow.
Insider Tricks for Flawless Results
The Temperature Rule Nobody Follows
Most home cooks bake at 350°F, but the secret to that perfect edge is a hotter 375°F. The higher heat creates a rapid steam burst that lifts the dough, giving you that airy, crisp edge. I once tried lowering the temp to 325°F because I thought it would be “gentler.” The result? A soggy, doughy disappointment that no amount of seasoning could rescue.
Why Your Nose Knows Best
Your sense of smell is a far better timer than any clock. When the butter‑cheese mixture starts to emit a nutty, toasted aroma, you’re about 2 minutes away from perfection. Trust that nose cue; it’s the culinary equivalent of a GPS for flavor.
The 5‑Minute Rest That Changes Everything
After baking, let the crackers rest on a wire rack for at least five minutes. This short pause lets the steam escape, locking in the crunch. Skipping this step is like trying to run a marathon without stretching — you’ll feel the consequences later.
Cold Water, Warm Heart
Adding just enough cold water (about two tablespoons) keeps the butter solid enough to create layers, yet fluid enough to bind the flour. If you add too much, the dough becomes gummy; too little and it crumbles. The sweet spot is a dough that feels slightly tacky but not sticky.
Paper Towel Trick for Storage
Place a dry paper towel at the bottom of your storage container. It absorbs any stray moisture, keeping the crackers crisp for days. I tried a plastic bag once; the crackers turned soft within hours — a true tragedy.
Creative Twists and Variations
This recipe is a playground. Here are some of my favorite ways to switch things up:
Spicy Jalapeño Kick
Finely mince a jalapeño and fold it into the dough with the cheese. The heat balances the cheese’s richness, perfect for those who love a little fire. Serve with cool ranch dip to tame the blaze.
Garlic & Herb Delight
Swap the paprika for 1 teaspoon of dried Italian herbs and add a clove of minced garlic. The herbaceous notes turn the snack into an elegant appetizer for wine nights.
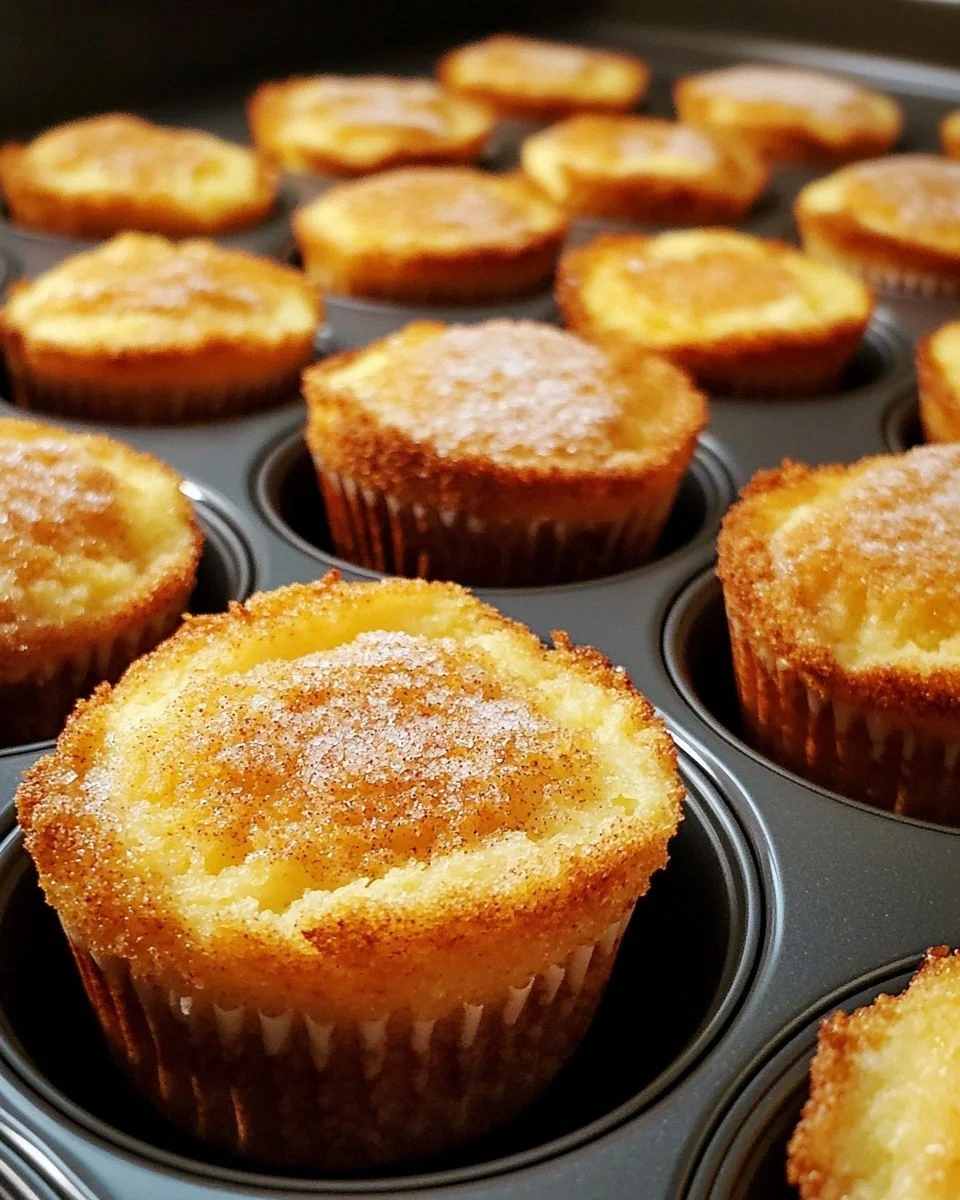
Sweet Cinnamon Sugar
For a dessert twist, omit the cheese and butter, then brush the baked squares with melted butter and sprinkle a mixture of cinnamon and sugar. They become a crunchy, sweet treat that pairs beautifully with coffee.
Vegan Version
Replace the cheddar with a sharp vegan cheese (nut‑based or soy‑based) and use coconut oil instead of butter. The texture stays buttery, and the flavor remains bold — proof that you don’t need dairy to be delicious.
Whole‑Wheat Upgrade
Swap half of the all‑purpose flour for whole‑wheat flour. The nutty undertone adds depth, and you get a slightly healthier snack without sacrificing crunch.
Storing and Bringing It Back to Life
Fridge Storage
Place the cooled crackers in an airtight tin or zip‑lock bag. Store in the refrigerator for up to one week. The cool environment slows staling, but you’ll want to bring them back to room temperature before serving for optimal crunch.
Freezer Friendly
If you’ve made a massive batch, freeze the crackers in a single layer on a parchment sheet, then transfer to a freezer‑safe container. They’ll keep for up to three months. When you’re ready, toss them in a 300°F oven for 5 minutes to revive the crunch.
Best Reheating Method
Reheat in a preheated oven at 350°F for 3‑4 minutes, or pop them in a toaster oven. Add a tiny splash of water (just a few drops) on the tray before reheating; the steam helps restore the interior softness while the exterior stays crisp.