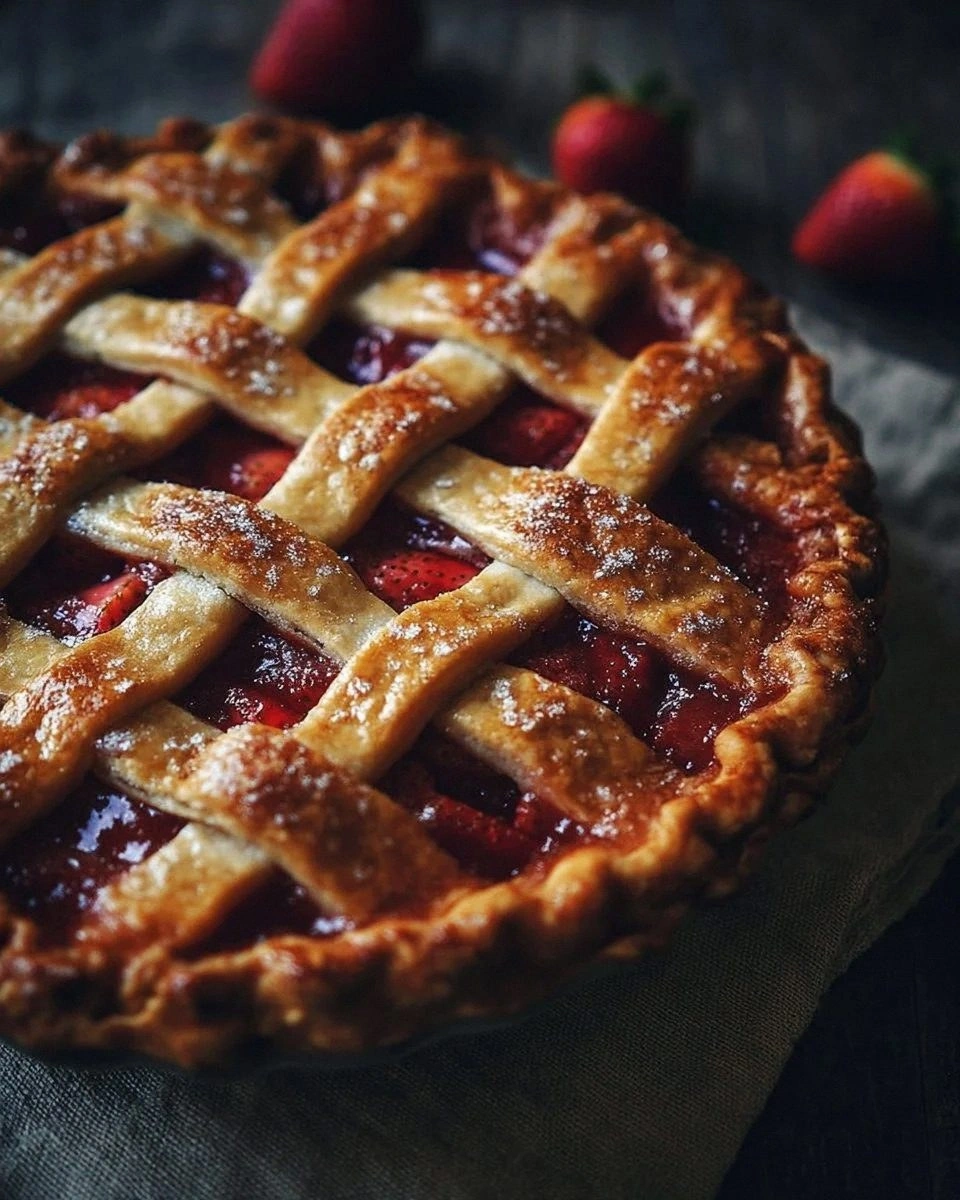
I was in the middle of a frantic Saturday morning, the kind where the kids are screaming for something sweet, the coffee is brewing, and the pantry looks like a desert. I grabbed a tub of strawberries, stared at a half‑baked cookie sheet, and thought, “What if I could turn this chaos into a dessert that feels like a hug from grandma and a high‑five from a pastry chef?” The kitchen filled with the scent of butter melting and sugar caramelizing, a sound that made my heart skip a beat. I’ll be honest — I ate half the batch before anyone else got a chance to try it, but the rest of the batch still turned out flawless. This moment sparked the creation of the ultimate strawberry shortcake bars, and I’m about to hand you the exact blueprint.
Picture yourself pulling a golden‑brown slab out of the oven, the top dusted with a whisper of powdered sugar that catches the light like fresh snow. The aroma hits you like a summer breeze, sweet strawberries mingling with a buttery crust that whispers “comfort” in every crumb. When you cut into it, the layers separate cleanly, revealing a glossy strawberry compote that glistens like a ruby‑studded lake. The texture is a perfect marriage of crisp edges that shatter like thin ice and a tender, melt‑in‑your‑mouth interior that makes you want to close your eyes and sigh. I dare you to taste this and not go back for seconds.
Most recipes get this completely wrong. They either drown the biscuit base in a soggy swamp of fruit or they bake the strawberries into a mush that loses its bright, fresh bite. Here’s what actually works: a shortbread‑style crust that stays firm, a strawberry layer that’s cooked just enough to release juices without turning into jam, and a cloud‑like whipped‑cream topping that adds a silk‑smooth finish. The secret ingredient? A splash of lemon zest that cuts through the sweetness and makes every bite sing. This is hands down the best version you’ll ever make at home, and I’m not exaggerating.
Okay, ready for the game‑changer? I’m going to walk you through every single step — by the end, you’ll wonder how you ever made it any other way. Stay with me here — this is worth it. The technique that will make your crust rise like a sunrise is coming up, and trust me, you’ll want to bookmark this page for future cravings.
What Makes This Version Stand Out
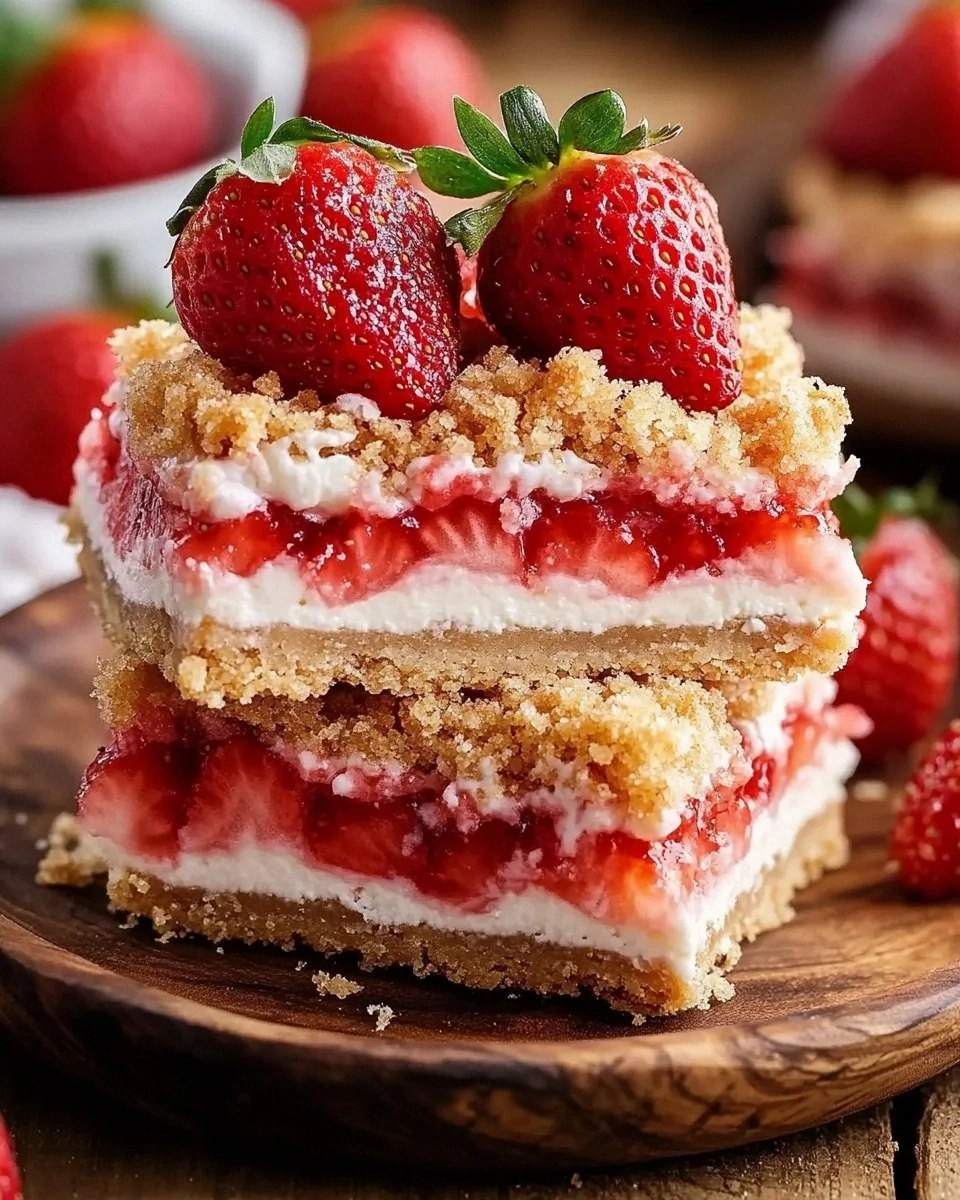
- Texture: The crust is buttery and crumbly, while the strawberry layer stays juicy yet firm, creating a delightful contrast that keeps every bite interesting.
- Flavor: A balanced sweet‑tart profile thanks to fresh strawberries, a hint of lemon zest, and a whisper of vanilla that lingers on the palate.
- Simplicity: Fewer than ten ingredients and a single‑sheet bake mean you can whip this up even on a chaotic weekday.
- Uniqueness: The lemon zest is the unexpected star that lifts the entire dessert from ordinary to unforgettable.
- Crowd Reaction: Guests often claim they’ve never tasted anything like it, and they’ll be the first to ask for the recipe.
- Ingredient Quality: Using ripe, fragrant strawberries and high‑fat butter makes a world of difference in flavor depth.
- Cooking Method: The two‑stage bake (crust first, then fruit) guarantees a perfect texture without sogginess.
- Make‑Ahead Potential: Assemble the bars a day ahead, refrigerate, and they’ll taste even better as the flavors meld.
Inside the Ingredient List
The Flavor Base
All‑purpose flour is the backbone of our crust, providing structure while allowing the butter to create those melt‑in‑your‑mouth layers. If you skip the flour, you’ll end up with a greasy mess that won’t hold together. For a gluten‑free twist, swap in a 1‑to‑1 blend of almond flour and rice flour, but expect a slightly denser crumb.
Granulated sugar and brown sugar work together to give the crust a caramel‑kissed sweetness; the brown sugar adds a subtle molasses note that deepens the flavor. Using only white sugar will make the crust too bland, while too much brown sugar can turn it gummy. Keep the balance as listed for the perfect sweet spot.
The Texture Crew
Unsalted butter, chilled and cubed, is the hero that creates that shortbread crumble. The cold butter creates steam pockets as it bakes, resulting in a light, airy bite. If you use melted butter, the crust will spread too thin and become cakey. A quick tip: cut the butter into ½‑inch cubes and toss them with the flour‑sugar mixture before rubbing in with your fingertips.
Baking powder adds a gentle lift, ensuring the crust isn’t flat as a pancake. It’s a tiny amount, but without it the bars can feel dense and heavy. Salt, even in a pinch, amplifies the sweet flavors and balances the richness of the butter.
The Unexpected Star
Fresh strawberries are the soul of this dessert. Their natural acidity cuts through the buttery crust, while their sugars caramelize during the second bake, creating a glossy, jam‑like layer that isn’t actually jam. If you use frozen strawberries, the excess water will make the crust soggy; always thaw, drain, and pat them dry.
Lemon zest is the secret weapon that adds a bright, citrusy pop, preventing the dessert from feeling overly sweet. A little goes a long way—just one teaspoon is enough to lift the entire flavor profile. If you’re allergic to citrus, a splash of vanilla extract can provide a similar aromatic lift.
The Final Flourish
Heavy whipping cream, lightly sweetened with powdered sugar, is whipped to soft peaks and spread over the warm bars just before serving. This airy topping adds a luxurious mouthfeel that contrasts the dense crust and juicy fruit. Skipping the cream will leave the bars feeling a bit dry; if you’re dairy‑free, coconut whipped cream works surprisingly well.
A final dusting of powdered sugar not only adds visual sparkle but also a delicate sweetness that disappears as soon as the bar touches your tongue, letting the strawberry’s natural flavor shine. For a decorative twist, drizzle a thin ribbon of melted white chocolate over the top.
Everything's prepped? Good. Let's get into the real action...
The Method — Step by Step
Preheat your oven to 350°F (175°C) and line a 9×13‑inch baking pan with parchment paper, leaving an overhang on the sides for easy lift‑out later. The heat should be steady; a fluctuating oven will cause uneven browning. While the oven warms, combine the flour, granulated sugar, brown sugar, baking powder, and salt in a large bowl. This dry mix should look like fine sand, and you’ll hear a soft whisper when you stir—sign of even distribution.
Cut the cold butter into the dry ingredients using a pastry cutter or two forks until the mixture resembles coarse crumbs with pea‑sized butter pieces. This is the moment where you’ll feel the buttery texture in your fingertips—pure magic. Then, add the egg and vanilla extract, mixing just until the dough comes together. Over‑mixing will develop gluten and make the crust tough, so stop as soon as you can form a ball.
Kitchen Hack: If the dough feels crumbly, sprinkle a tablespoon of ice‑cold water and knead gently; this will bring it together without melting the butter.Press the dough evenly into the prepared pan, creating a uniform layer about ½‑inch thick. Use the back of a measuring cup to smooth the surface; you’ll hear a faint sigh as the dough settles. Bake for 12‑15 minutes, or until the edges turn a light golden‑brown and you can smell a toasted butter aroma. This first bake sets the foundation and prevents the fruit from making the crust soggy later.
While the crust bakes, toss the sliced strawberries with a tablespoon of granulated sugar, the lemon zest, and a pinch of salt. Let them sit for 10 minutes; the sugar will draw out the juices, creating a natural syrup. If you’re impatient, you can give them a quick stir after five minutes, but the longer they macerate, the richer the flavor.
When the crust is lightly golden, remove it from the oven and spread the strawberry mixture evenly over the hot base. The heat will start to soften the fruit, and you’ll see the juices bubbling at the edges—this is the sign you’re on the right track. Return the pan to the oven and bake for another 15‑18 minutes, or until the strawberries are tender but still hold their shape and the edges of the crust pull away slightly.
Watch Out: Do not overbake the strawberries; they will turn into a mushy jam that loses the fresh bite we’re after.While the bars finish their second bake, whip the heavy cream with powdered sugar and a splash of vanilla until soft peaks form. The whisk should create a glossy, cloud‑like texture that holds its shape when the beaters are lifted. If you over‑whip, you’ll end up with butter—so stop at soft peaks for that perfect lightness.
Once the bars are baked and the strawberry layer is set, let them cool in the pan for 10 minutes. Then, using the parchment overhang, lift the whole slab onto a cutting board. This step keeps the bars intact and prevents them from breaking apart. While still warm, spread a generous layer of whipped cream over the top, allowing it to melt slightly into the fruit for a beautiful marbled effect.
Dust the surface with powdered sugar, slice the bars into 12 even squares, and serve either warm or at room temperature. The first bite should deliver a crisp buttery edge, a juicy strawberry heart, and a silky cream finish—all in perfect harmony. That sizzle when the crust hits the pan? Absolute perfection.
Kitchen Hack: For clean cuts, chill the bars for 15 minutes before slicing; the butter will firm up and the fruit won’t smear.That’s it — you did it. But hold on, I've got a few more tricks that'll take this to another level, like a quick glaze or a toasted almond sprinkle that adds crunch. Stay tuned for the insider tips below, because the journey doesn’t end at the plate.
Insider Tricks for Flawless Results
The Temperature Rule Nobody Follows
Never bake a shortcake bar in a cold oven. Starting with a fully preheated oven ensures the butter melts at the right moment, creating that coveted flaky texture. I once tried a “slow‑start” method and ended up with a dense, greasy slab that no one wanted to touch. Trust the heat, and you’ll get those golden edges that pull away from the pan like a well‑behaved dog.
Why Your Nose Knows Best
Your sense of smell is the most reliable timer in the kitchen. When the crust turns a light amber and you catch that toasted butter scent, it’s ready for the fruit layer. If you rely solely on the clock, you risk under‑ or over‑baking. Follow the aroma, and you’ll never miss the perfect moment.
The 5‑Minute Rest That Changes Everything
After the second bake, let the bars rest uncovered for five minutes before adding the whipped cream. This short pause lets the steam escape, preventing the cream from turning watery. I’ve seen novices pour cream immediately and end up with a soggy top. Patience here translates directly into a cleaner, more elegant finish.
Whisking the Cream Like a Pro
Start your mixer on low speed, then gradually increase to medium‑high. Adding the powdered sugar slowly prevents clumping and gives the cream a glossy sheen. If you rush and dump the sugar all at once, you’ll get grainy pockets that ruin the silky texture.
The Secret of the Lemon Zest
Grate the zest directly over the strawberries, not into a bowl, so the essential oils fall onto the fruit. Those oils are volatile and evaporate quickly, so you want them to mingle right away. A pinch more than the recipe calls for can make the bars taste like a summer garden, but too much will dominate the sweet profile.
Cutting Clean Squares
Use a hot, dry knife—dip it in hot water, wipe it dry, and slice. The heat cuts through the butter without dragging, giving you crisp edges and uniform pieces. If you use a cold knife, the crust will crumble, and the fruit will smear, ruining the presentation.
Creative Twists and Variations
This recipe is a playground. Here are some of my favorite ways to switch things up:
Berry Medley Madness
Swap half the strawberries for blueberries and a quarter for raspberries. The tartness of the blueberries balances the sweet strawberries, while raspberries add a burst of color. Perfect for a mixed‑berry brunch.
Chocolate‑Covered Delight
Drizzle melted dark chocolate over the finished bars and sprinkle with toasted almond slivers. The bitterness of the chocolate pairs beautifully with the sweet fruit, creating a sophisticated flavor contrast.
Coconut Cream Dream
Replace the heavy cream with coconut whipped cream and add a pinch of toasted coconut flakes on top. This gives a tropical twist that’s dairy‑free and adds a subtle nutty crunch.
Lemon‑Lavender Whisper
Add a teaspoon of culinary lavender to the crust and increase the lemon zest to 1½ teaspoons. The floral notes elevate the dessert to a garden party centerpiece.
Nutty Crunch Variation
Fold chopped toasted pecans into the crust mixture before baking. The nuts add a buttery crunch that contrasts the soft interior, making each bite a textural adventure.
Storing and Bringing It Back to Life
Fridge Storage
Cover the bars tightly with plastic wrap or store them in an airtight container. They’ll stay fresh for up to three days, though the crust may lose a bit of its crispness. A quick re‑warm in a 300°F oven for five minutes restores that golden crunch.
Freezer Friendly
Wrap each bar individually in parchment, then place them in a freezer‑safe zip‑top bag. They freeze beautifully for up to two months. To serve, thaw overnight in the fridge, then let sit at room temperature for 20 minutes before adding a fresh dollop of whipped cream.
Best Reheating Method
When reheating, add a tiny splash of water (about a tablespoon) to the pan and cover with foil. The steam revives the crust’s tenderness while keeping the fruit juicy. Remove the foil for the last two minutes to re‑crisp the edges.