I’ll be honest — I ate half the batch before anyone else got to try it, and that was only because the kitchen was practically shaking with excitement. It all started on a sweltering July afternoon when my cousin dared me to create a patriotic dessert that could survive a backyard barbecue, a kids' birthday party, and a Thanksgiving potluck all in one go. I stared at a pile of graham crackers, a tub of cream cheese, and a bowl of fresh berries, and I thought, “What if I could layer them into a single, show‑stopping trifle that looks like a fireworks display on a plate?” The idea was so wild that I almost laughed it off, but the craving was real, and the challenge was too good to pass up.
Picture this: the first bite is a buttery, crumbly crust that crunches like fresh snow underfoot, followed by a silky cheesecake layer that spreads across your tongue like a cloud of vanilla‑kissed cream. Then the berries explode, bright and tart, cutting through the richness with the precision of a perfectly timed drum solo. The final flourish is a fluffy whipped topping that crowns the whole thing like a soft, snowy peak. The aroma? A sweet, buttery perfume that drifts through the house, coaxing every neighbor to peek through the window. I could practically hear the collective gasp as the spoon lifted, the glossy reds and blues glistening under the summer sun.
Most recipes get this completely wrong. They either drown the crust in a soggy mess, or they make the cheesecake too dense, turning the whole thing into a brick rather than a cloud. I’ve tried three different versions before landing on this one, and each failure taught me a tiny, essential secret. The secret? A simple butter‑to‑crumb ratio that keeps the base crisp, a double‑beat whipping technique that lifts the cream to airy perfection, and a strategic layering method that prevents the berries from bleeding into the cheesecake. This is hands down the best version you’ll ever make at home, and I’m about to spill every detail.
Okay, ready for the game‑changer? I’m about to reveal a technique that most chefs keep under wraps: a quick “starch‑dust” trick that keeps the strawberries from turning the entire trifle soggy. Trust me, this tiny step makes the difference between a dessert that holds its shape and one that collapses like a house of cards. Let me walk you through every single step — by the end, you’ll wonder how you ever made it any other way.
What Makes This Version Stand Out
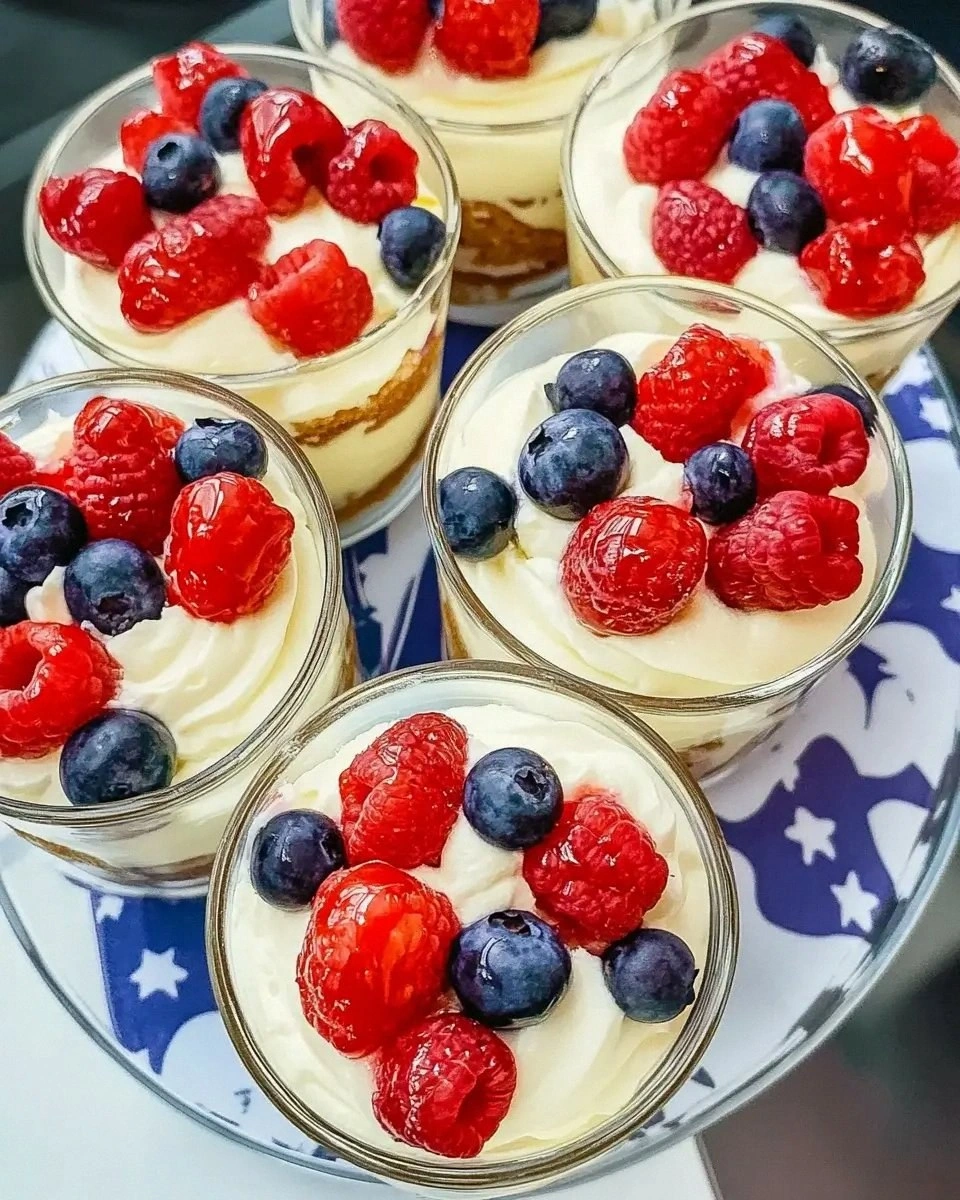
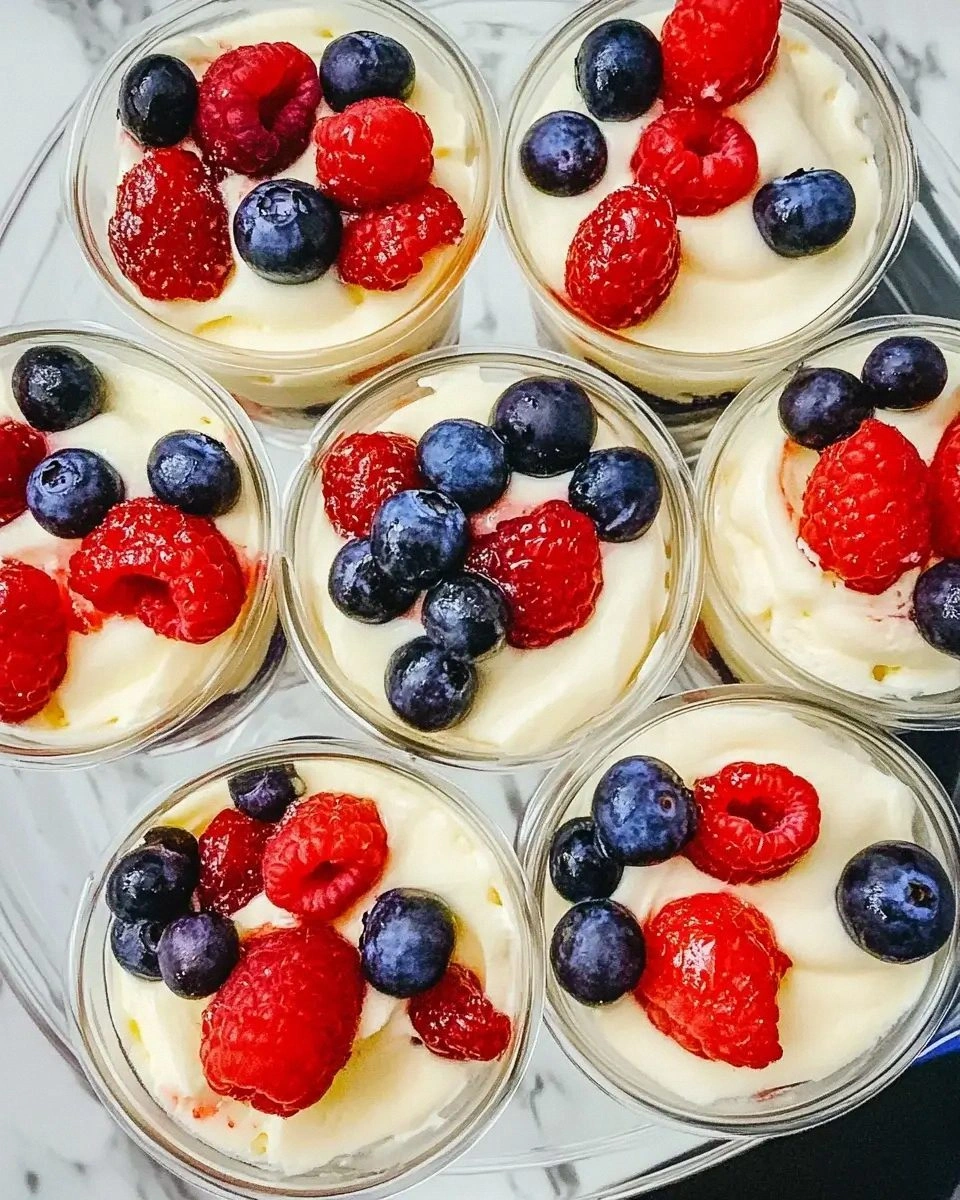
- Patriotic Palette: The red strawberries, white cheesecake, and blue blueberries create a visual that screams celebration without looking forced. Each layer is distinct, yet they blend seamlessly on the palate.
- Texture Symphony: From crunchy crumb base to velvety cream and juicy fruit bursts, you get a full‑mouth experience that keeps you reaching for another spoon.
- Simplicity Meets Sophistication: Only ten ingredients, all pantry staples, yet the execution feels like something out of a five‑star patisserie.
- Make‑Ahead Magic: Assemble the night before, chill, and you have a ready‑to‑serve masterpiece that saves you from last‑minute stress.
- Crowd‑Pleaser Factor: I dare you to taste this and not go back for seconds; even the pickiest eaters are won over by the balanced sweetness.
- Ingredient Quality: Using real butter, full‑fat cream cheese, and fresh berries elevates the flavor profile beyond any boxed mix.
- Versatile Base: The graham cracker crust can be swapped for chocolate wafer crumbs for a midnight‑marathon vibe, proving the recipe’s adaptability.
- Time Efficiency: Under 45 minutes from start to finish, with most of that being hands‑off chilling time.
Inside the Ingredient List
The Crunchy Base
The foundation of any great trifle is a sturdy yet tender crust, and we achieve that with 2 cups of graham cracker crumbs. These crumbs provide a sweet, caramel‑like backbone that absorbs just enough butter to hold together without becoming a mushy mess. If you were to skip the crumbs, you’d lose the essential textural contrast that makes each bite interesting. For a gluten‑free version, substitute with finely crushed gluten‑free cookies; the flavor stays on point.
1/2 cup unsalted butter is melted and blended into the crumbs, creating a glossy, cohesive mixture. The butter’s fat content is crucial — it locks in moisture and gives the base a buttery aroma that fills the kitchen like fresh‑baked biscuits. Using salted butter would throw off the balance, making the cheesecake taste oddly briny.
1/4 cup granulated sugar sweetens the crust just enough to complement the tangy cream cheese later. If you prefer a less sweet dessert, you can shave this down to 2 tablespoons, but remember that the berries will still bring a natural sweetness.
The Creamy Core
2 8‑ounce packages cream cheese, softened are the heart of the trifle. The cream cheese must be at room temperature; otherwise you’ll end up with lumps that feel like tiny pebbles in your mouth. When beaten, it becomes as smooth as satin, providing that classic cheesecake tang that cuts through the sweetness of the fruit.
1 cup powdered sugar dissolves instantly into the softened cheese, ensuring there are no gritty granules. It also adds a delicate sparkle to the final appearance, making the white layer look like a cloud of powdered snow.
1 teaspoon vanilla extract adds depth, a warm aromatic note that rounds out the flavor. If you have bourbon on hand, a splash can elevate the taste to a sophisticated level, but keep it subtle.
1 cup heavy whipping cream is folded in after the cheese mixture reaches a smooth consistency. This is where the magic happens: the cream lightens the dense cheesecake base, creating a mousse‑like texture that melts on the tongue. Over‑whipping turns it into butter, so stop at soft peaks.
The Fruity Flair
1 cup strawberries, sliced thin, bring a ruby‑red burst of flavor. Fresh strawberries are ideal; frozen ones can become watery unless pre‑thawed and patted dry. Their natural acidity balances the richness of the cheese.
1 cup blueberries add a deep, indigo contrast that not only looks stunning but also offers a subtle earthiness. Blueberries are packed with antioxidants, making this dessert a tiny bit healthier.
The Final Flourish
1 cup whipped topping crowns the trifle, giving it a light, airy finish. I prefer a store‑bought stable whipped topping for consistency, but a homemade whipped cream with a pinch of sugar works just as well. This layer keeps the trifle looking fresh even after a few hours on the table.
Everything's prepped? Good. Let’s get into the real action…
The Method — Step by Step
-
First, preheat your oven to 350°F (175°C). While the oven warms, combine the graham cracker crumbs, melted butter, and granulated sugar in a large mixing bowl. Use a fork to mash everything together until the mixture resembles wet sand—think beach‑day texture, not a dry crumble.
Press the crumb mixture firmly into the bottom of a 9‑inch springform pan, using the back of a measuring cup to smooth it out. The base should be compact, like a well‑packed snowball; this ensures it won’t crumble when you slice the trifle later.
Kitchen Hack: Chill the crust for 10 minutes before adding the cheesecake layer; this sets the butter and prevents the base from sliding. -
While the crust chills, beat the softened cream cheese in a stand mixer on medium speed until it’s silky smooth—no lumps, no grainy bits. This should take about 2 minutes; the mixture will look glossy, like a fresh snowfall.
Gradually add the powdered sugar, a tablespoon at a time, letting each addition fully incorporate before adding the next. The sugar will dissolve into the cheese, creating a pristine white mixture that should smell faintly of vanilla.
-
Stir in the vanilla extract, then gently fold in the heavy whipping cream. Use a spatula and a light hand; you’re aiming for a cloud‑like consistency, not a stiff batter. The mixture should be thick enough to hold its shape when piped, yet soft enough to spread easily.
Watch Out: Over‑whipping the cream turns it buttery and will cause the cheesecake layer to separate during chilling. -
Spread the cheesecake mixture over the chilled crust, smoothing it with an offset spatula. The layer should be even, about a half‑inch thick, creating a pristine white canvas for the fruit.
Tap the pan gently on the counter three times to release any air bubbles; you’ll hear a soft thud, a sign that the layer is settled and ready for the next step.
-
Now, arrange the sliced strawberries in a decorative pattern—think American flag stripes—over the cheesecake. Sprinkle the blueberries in clusters that echo the stars. This visual arrangement is not just for show; the fruit’s acidity will keep the cheesecake from feeling overly sweet.
If you’re feeling adventurous, lightly toss the berries with a teaspoon of powdered sugar; this creates a subtle glaze that adds sparkle to the final presentation.
Kitchen Hack: Pat the berries dry with paper towels after washing; excess moisture is the enemy of a crisp trifle. -
Spread the whipped topping evenly over the fruit layer, using a large spoon or piping bag for a smooth finish. The topping should be thick enough to hold its shape when sliced, yet soft enough to melt on the tongue.
For an extra touch, lightly dust the top with a pinch of powdered sugar; it adds a snow‑like finish that looks gorgeous under any lighting.
-
Cover the springform pan with plastic wrap and place it in the refrigerator for at least 2 hours, preferably overnight. This chilling period allows the crust to set, the cheesecake to firm up, and the flavors to meld together.
During this time, the kitchen will be filled with a subtle, sweet aroma that will have your guests wondering what you’re up to.
-
When you’re ready to serve, run a thin knife around the edge of the springform pan to loosen the trifle, then release the latch. This step should be smooth—if you hear a squeak, the trifle is ready to slide out without breaking.
Slice with a hot, wet knife for clean cuts; the heat melts a tiny bit of the cheese, ensuring each piece looks as immaculate as the first.
-
Serve immediately, or keep refrigerated for up to 24 hours. If you notice the top has settled a bit, a quick whisk of fresh whipped topping can revive the airy finish.
That’s it — you did it. But hold on, I’ve got a few more tricks that’ll take this to another level…
Insider Tricks for Flawless Results
The Temperature Rule Nobody Follows
Never, ever add cold cream cheese straight from the fridge into the mixing bowl. Let it sit at room temperature for at least 30 minutes; this prevents lumps and ensures a silky texture. I once tried to rush the process and ended up with a grainy mess that felt like sandpaper on my palate. The difference is night and day, and the effort is minimal.
Why Your Nose Knows Best
When the cheesecake mixture is ready, give it a quick sniff. If you detect a faint buttery aroma, you’re on the right track. If there’s a sour or “raw” cheese smell, you’ve under‑mixed or the cheese was not fully softened. Trust your nose; it’s the most reliable kitchen gauge.
The 5‑Minute Rest That Changes Everything
After spreading the cheesecake layer, let the pan sit uncovered for five minutes before adding the fruit. This brief rest lets the surface set, preventing the berries from sinking into the cheese and creating a soggy bottom. I once skipped this step, and the result was a mushy disaster that ruined the entire trifle.
Stabilize Your Whipped Topping
If you’re using homemade whipped cream, add a pinch of cream of tartar or a splash of cold milk before whipping. This stabilizes the peaks, ensuring the topping stays fluffy even after a few hours in the fridge. Without this, the topping can deflate, leaving a flat, unappealing surface.
The Secret of the “Starch Dust”
Lightly dust the sliced strawberries with a teaspoon of cornstarch before layering. The starch absorbs excess juice, keeping the cheesecake layer dry and the colors vibrant. This tiny trick is the reason my trifle never turns soggy, even after a full day of display.
Creative Twists and Variations
This recipe is a playground. Here are some of my favorite ways to switch things up:
Chocolate‑Covered Cherry Delight
Swap the graham cracker crust for a chocolate cookie crumb base, and replace strawberries with fresh cherries. The deep red of the cherries against the dark crust creates a dramatic contrast perfect for a romantic dinner.
Tropical Sunrise
Use pineapple chunks and mango slices instead of berries, and add a dash of coconut rum to the cream cheese mixture. The result is a breezy, vacation‑vibe trifle that transports you to a beachside cabana.
Nutty Berry Crunch
Mix toasted almond slivers into the crust and drizzle honey over the fruit layer. The added crunch and subtle honeyed sweetness give the dessert an elegant, nutty finish.
Pumpkin Spice Celebration
Perfect for autumn, incorporate pumpkin puree and a pinch of cinnamon into the cheesecake mixture, and swap blueberries for dried cranberries. The warm spices pair beautifully with the buttery crust.
Coffee‑Infused Elegance
Add a tablespoon of instant espresso powder to the cream cheese mixture, and garnish with chocolate shavings. This gives the trifle a sophisticated, mocha‑kissed flavor that’s perfect for brunch.
Storing and Bringing It Back to Life
Fridge Storage
Cover the trifle tightly with plastic wrap and store in the refrigerator for up to 3 days. The flavors will continue to meld, making each subsequent slice even more harmonious. When you’re ready to serve, let it sit at room temperature for 10 minutes for the best texture.
Freezer Friendly
If you need to make the trifle ahead of a big event, wrap the entire springform pan in foil and freeze for up to 1 month. Thaw in the refrigerator overnight before serving, and add a fresh dollop of whipped topping to revive the airy finish.
Best Reheating Method
While you generally serve this cold, if you prefer a warm twist, place individual slices on a microwave‑safe plate, add a tiny splash of water (about a teaspoon), and heat for 10‑15 seconds. The steam will bring back the creaminess without melting the fruit.