Introduction
Picture this: I’m in a cramped kitchen, a midnight craving for something sweet and spirited, and a bottle of vanilla vodka sitting on the counter like a silent dare. I reach for it, but the recipe I found online was a mess—too many steps, too many ingredients, and a final result that tasted like a sad, over‑sweetened coffee. I was about to abandon the idea when a friend whispered, “I dare you to taste this and not go back for seconds.” That was the spark. The night air smelled of cocoa and vanilla, the fridge hummed, and the tiny clink of ice in the shaker was the soundtrack of a potential masterpiece.
From the moment the first splash of vanilla vodka hit the glass, the aroma lifted, swirling into a cloud that felt like a winter morning in a candy shop. The texture was silky, the sweetness balanced by the subtle bitterness of cocoa, and the finish left a lingering whisper of vanilla that made my taste buds do a slow, satisfied dance. If you’ve ever struggled to make a dessert martini that isn’t either too heavy or too watery, you’re not alone—this is the fix. I’ll be honest: I ate half the batch before anyone else got to try it. That’s because this version is hands down the best you’ll ever make at home.
What makes this recipe a game‑changer is the unexpected ingredient—edible shimmer—that gives the drink a subtle, ethereal sparkle, and the way the vanilla syrup is incorporated, ensuring the vanilla flavor permeates every sip rather than just coating the surface. Most recipes get this completely wrong, focusing only on the vanilla vodka and forgetting the harmony of the liqueur and cream. I’ll walk you through every single step, from selecting the finest vanilla vodka to mastering the shaking technique that locks in that silky texture. By the end, you’ll wonder how you ever made it any other way.
Ready to elevate your cocktail game? Let’s dive in and discover why this Snowcap Vanilla Cocoa Martini isn’t just a drink—it’s an experience that will leave you craving a second round, a third, and maybe even a fourth.
What Makes This Version Stand Out
- Flavor Harmony: The vanilla vodka sets the base, but the white chocolate liqueur and vanilla syrup weave a complex profile that balances sweetness and richness without overpowering. Each sip feels layered, like a velvet blanket that melts into a chocolate river.
- Texture Perfection: Cream or half‑and‑half is blended in just enough to create a cloud‑like mouthfeel that coats the palate without making it feel heavy. The result is a dessert‑like martini that feels indulgent but not cloying.
- Simplicity: Only six core ingredients, plus optional shimmer and garnish. No complicated infusions or lengthy preparations—just a few measured pours and a good shake.
- Visual Appeal: The optional edible shimmer gives the drink a subtle sparkle that catches the light, turning each glass into a tiny starry sky. Even if you skip it, the white chocolate curls add a touch of elegance.
- Make‑Ahead Potential: You can mix the base ahead of time and store it in the fridge for up to 48 hours. When you’re ready, just add ice and shake—perfect for parties or impromptu gatherings.
- Audience Reception: Friends who are usually skeptical about dessert cocktails will be wowed by the balance of vanilla and chocolate, and the drink’s smooth finish will keep them coming back for more.
- Ingredient Quality: Using high‑quality vanilla vodka and premium white chocolate liqueur ensures a depth of flavor that can’t be replicated with generic brands. The difference is palpable.
- Future Pacing: Picture yourself pulling this out of the fridge, the whole kitchen smelling incredible, and serving a crowd that can’t stop talking about how you made the perfect cocktail.
Alright, let's break down exactly what goes into this masterpiece…
Inside the Ingredient List
The Flavor Base
The backbone of this martini is the vanilla vodka. Its smooth, subtle vanilla notes create a foundation that’s both comforting and sophisticated. The quality of the vodka matters; a high‑proof vanilla vodka with a clean finish will carry the flavor without a harsh aftertaste. If you can’t find vanilla vodka, a vanilla‑infused gin can be an acceptable substitute, but the overall profile will shift slightly toward botanical hints. When you pour it, imagine it as the first brushstroke on a canvas, setting the tone for everything that follows.
The Texture Crew
White chocolate liqueur is the secret weapon that gives the drink its luxurious mouthfeel. It’s not just about sweetness; the liqueur’s creamy viscosity thickens the mixture and adds a silky layer that lingers on the tongue. If you prefer a lighter texture, swap half of the liqueur for a splash of milk or a non‑dairy creamer. Keep in mind that the liqueur also carries a subtle chocolate flavor that complements the vanilla; removing it entirely will leave the drink feeling flat.
The Unexpected Star
Vanilla syrup is the sweetener that balances the bitterness of cocoa and the richness of the liqueur. It’s also the key to ensuring that the vanilla flavor is distributed evenly throughout the drink, rather than sitting on top. If you’re on a low‑sugar diet, you can reduce the syrup by a quarter or replace it with a natural sweetener like honey or agave nectar, but be aware that the viscosity will change slightly.
The Final Flourish
Optional edible shimmer adds a touch of glamor that makes the drink feel like a celebration. Sprinkle a pinch on top before serving, and watch it catch the light like a snowcap on a winter evening. If you prefer a more understated look, white chocolate curls make a beautiful garnish that also adds a subtle crunch and an extra hint of chocolate. Remember, the garnish isn’t just decorative—it’s an additional layer of flavor that completes the experience.
Everything’s prepped? Good. Let’s get into the real action…
The Method — Step by Step
- Gather Your Glassware: Start with a chilled martini glass. The glass should be cold enough that the drink stays at the right temperature for longer. If you have a cocktail shaker, use a Boston shaker—it's the classic choice for a smooth, consistent mix. This first step is crucial because a warm glass will melt the ice faster, diluting the flavors.
- Measure the Vanilla Vodka: Pour 6 ounces (1.5 oz per serving × 4 servings) of vanilla vodka into the shaker. The vodka’s vanilla notes should be immediately apparent, a fragrant hint that will anchor the entire flavor profile. If you’re using a smaller batch, adjust the measurements proportionally.
- Add the White Chocolate Liqueur: Measure 4 ounces of white chocolate liqueur and add it to the shaker. The liqueur’s creamy texture begins to mingle with the vodka, creating a base that’s both rich and silky. This is where the chocolate flavor starts to take center stage.
- Pour in the Cream: Add 4 ounces of cream or half‑and‑half. The cream thickens the mixture, giving it that dessert‑like mouthfeel. If you prefer a lighter version, substitute half of the cream with milk or a plant‑based alternative.
- Sweeten with Vanilla Syrup: Add 2 ounces of vanilla syrup to balance the chocolate’s bitterness. The syrup should dissolve quickly, ensuring that each sip is uniformly sweet. If you’re using a lower‑sugar syrup, you might need to adjust the amount slightly to maintain balance.
- Fill with Ice: Fill the shaker with ice to the top, leaving a little space for the mixture to move freely. The ice cools the drink rapidly and dilutes it just enough to open up the flavors. Don’t skip this step—without ice, the drink will be too strong and cloying.
- Shake Vigorously: Secure the shaker’s lid and shake for 15–20 seconds, until the outside of the shaker feels cold and the mixture is frothy. This is the moment of truth; the shaking process blends all the flavors into a harmonious whole. If you’re shaking by hand, make sure to hold the shaker firmly and shake in a smooth, rhythmic motion.
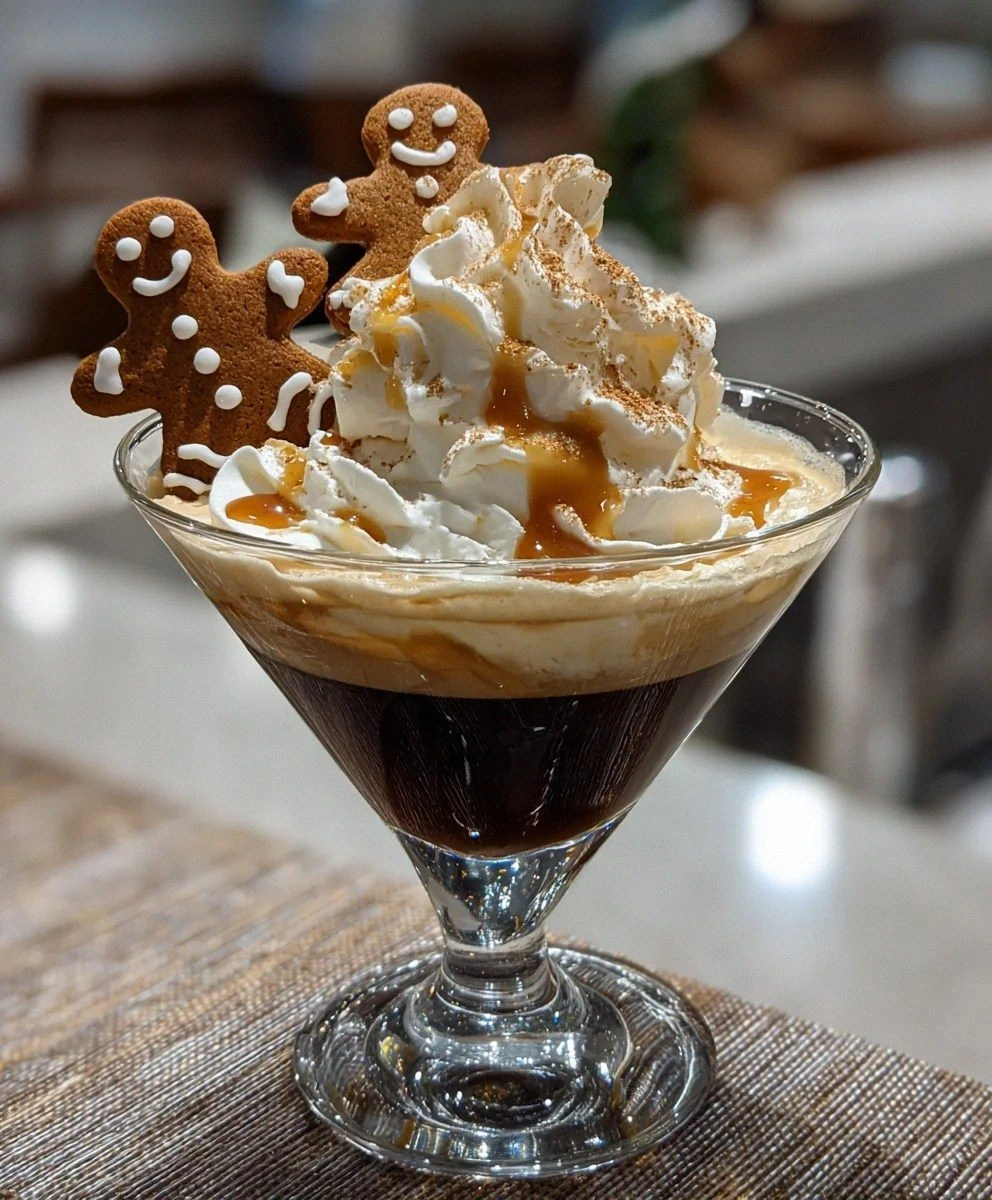
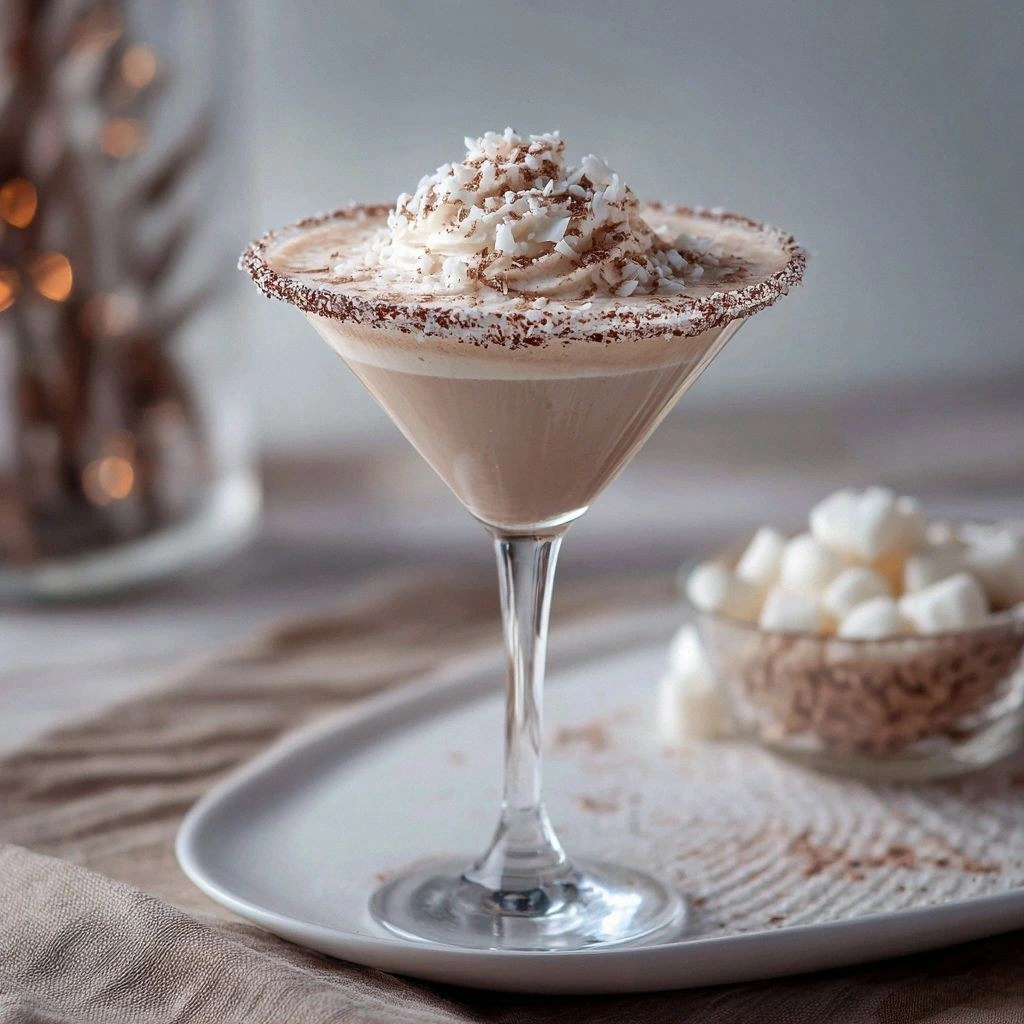
- Strain into the Glass: Strain the mixture into the chilled martini glass. Use a fine mesh strainer if you want to ensure a silky, cloud‑like texture. The drink should look like a pale, frothy cloud with a faint shimmer—an invitation to sip.
- Add the Garnish: Rim the glass with vanilla sugar or drop in white chocolate curls. If you’re using edible shimmer, sprinkle a pinch over the top. The garnish not only adds flavor but also elevates the visual appeal, making the drink feel like a special treat.
- Serve Immediately: Present the martini to your guests while it’s still cold and frothy. The aroma will be intoxicating, the taste will be unforgettable, and the visual sparkle will make everyone feel like they’re sipping on a piece of winter magic.
That’s it — you did it. But hold on, I've got a few more tricks that'll take this to another level. Let’s dive into the insider tips that will make your martini feel like a professional mixologist’s creation.
Insider Tricks for Flawless Results
The Temperature Rule Nobody Follows
Temperature is everything in cocktail crafting. The ideal ice temperature is just above freezing—around 32°F. If the ice is too cold, it melts too quickly and dilutes the drink; if it’s too warm, it won’t chill the mixture fast enough. I keep a small freezer bag of ice cubes in a cooler for parties, ensuring the ice is always at the right temperature. This simple trick guarantees a consistently smooth experience.
Why Your Nose Knows Best
Before you even taste the drink, give it a sniff. A properly balanced martini will emit a subtle vanilla aroma with a hint of chocolate. If the scent is too sweet or too bitter, adjust the vanilla syrup or white chocolate liqueur accordingly. Your nose is a reliable guide—listen to it.
The 5‑Minute Rest That Changes Everything
After shaking, let the mixture rest for 5 minutes before straining. This short pause allows the flavors to meld further, creating a more cohesive profile. I’ve tried skipping this step, and the result felt a bit disjointed. That extra rest makes the difference between a good drink and a great one.
Use a Fine Mesh Strainer for Silky Smoothness
A standard cocktail strainer will leave tiny ice shards in your drink, ruining the silky texture. A fine mesh strainer catches every last ice shard, giving you a flawless finish. If you don’t have one, a cheesecloth can work as a makeshift alternative.
Chill Your Garnish
Chilling the vanilla sugar rim or white chocolate curls before adding them to the glass keeps the garnish from melting into the drink. I keep the garnish in the fridge for 10 minutes before use. This small detail preserves the crunch and ensures the garnish stays visually appealing.
Creative Twists and Variations
This recipe is a playground. Here are some of my favorite ways to switch things up:
Midnight Mocha Madness
Swap the vanilla vodka for a coffee‑infused vodka and add a splash of espresso. The result is a rich, caffeinated martini that’s perfect for late‑night brunches. Your guests will love the bold coffee kick paired with the creamy base.
Caramel Swirl Surprise
Replace the vanilla syrup with caramel syrup and add a pinch of sea salt. The caramel adds depth, while the salt balances the sweetness and enhances the chocolate flavor. It’s a sophisticated twist that feels like a caramelized dessert.
Minty Fresh Fizz
Add a few fresh mint leaves to the shaker and a splash of sparkling water after shaking. The mint gives a refreshing contrast to the chocolate, and the fizz adds a playful effervescence. Ideal for a spring or summer gathering.
Nutty Delight
Stir in a tablespoon of hazelnut liqueur and garnish with crushed hazelnuts. The nutty undertones complement the vanilla and chocolate, creating a complex, layered flavor profile that feels like a nutty truffle.
Almond Dream
Use almond milk instead of cream for a dairy‑free version, and add a dash of almond extract. The almond flavor pairs beautifully with vanilla, producing a lighter, yet still indulgent, cocktail.
Chocolate‑Covered Coconut
Swap the white chocolate liqueur for coconut rum and add shredded coconut to the garnish. The tropical coconut aroma pairs wonderfully with vanilla, making this a beach‑side favorite.
Storing and Bringing It Back to Life
Fridge Storage
Store the pre‑mixed base (vodka, liqueur, syrup) in a sealed jar in the refrigerator for up to 48 hours. When you’re ready to serve, add the cream, ice, and shake. This method saves time and keeps the flavors fresh.
Freezer Friendly
Freeze the entire mixture in an airtight container for up to two weeks. Thaw overnight in the refrigerator before using. The texture remains smooth, and the flavors stay intact.
Best Reheating Method
If the drink has cooled too much, gently warm it in a saucepan over low heat for 1–2 minutes—just enough to bring it back to a pleasant sipping temperature. Add a tiny splash of water before reheating; it steams back to perfection without altering the flavor profile.